How to View Registered Trips
A trip is a recorded route captured by a team member’s device while tracking is active. Each trip shows movement between a start point and an end point and include start and end times, location quality, distance, and duration.
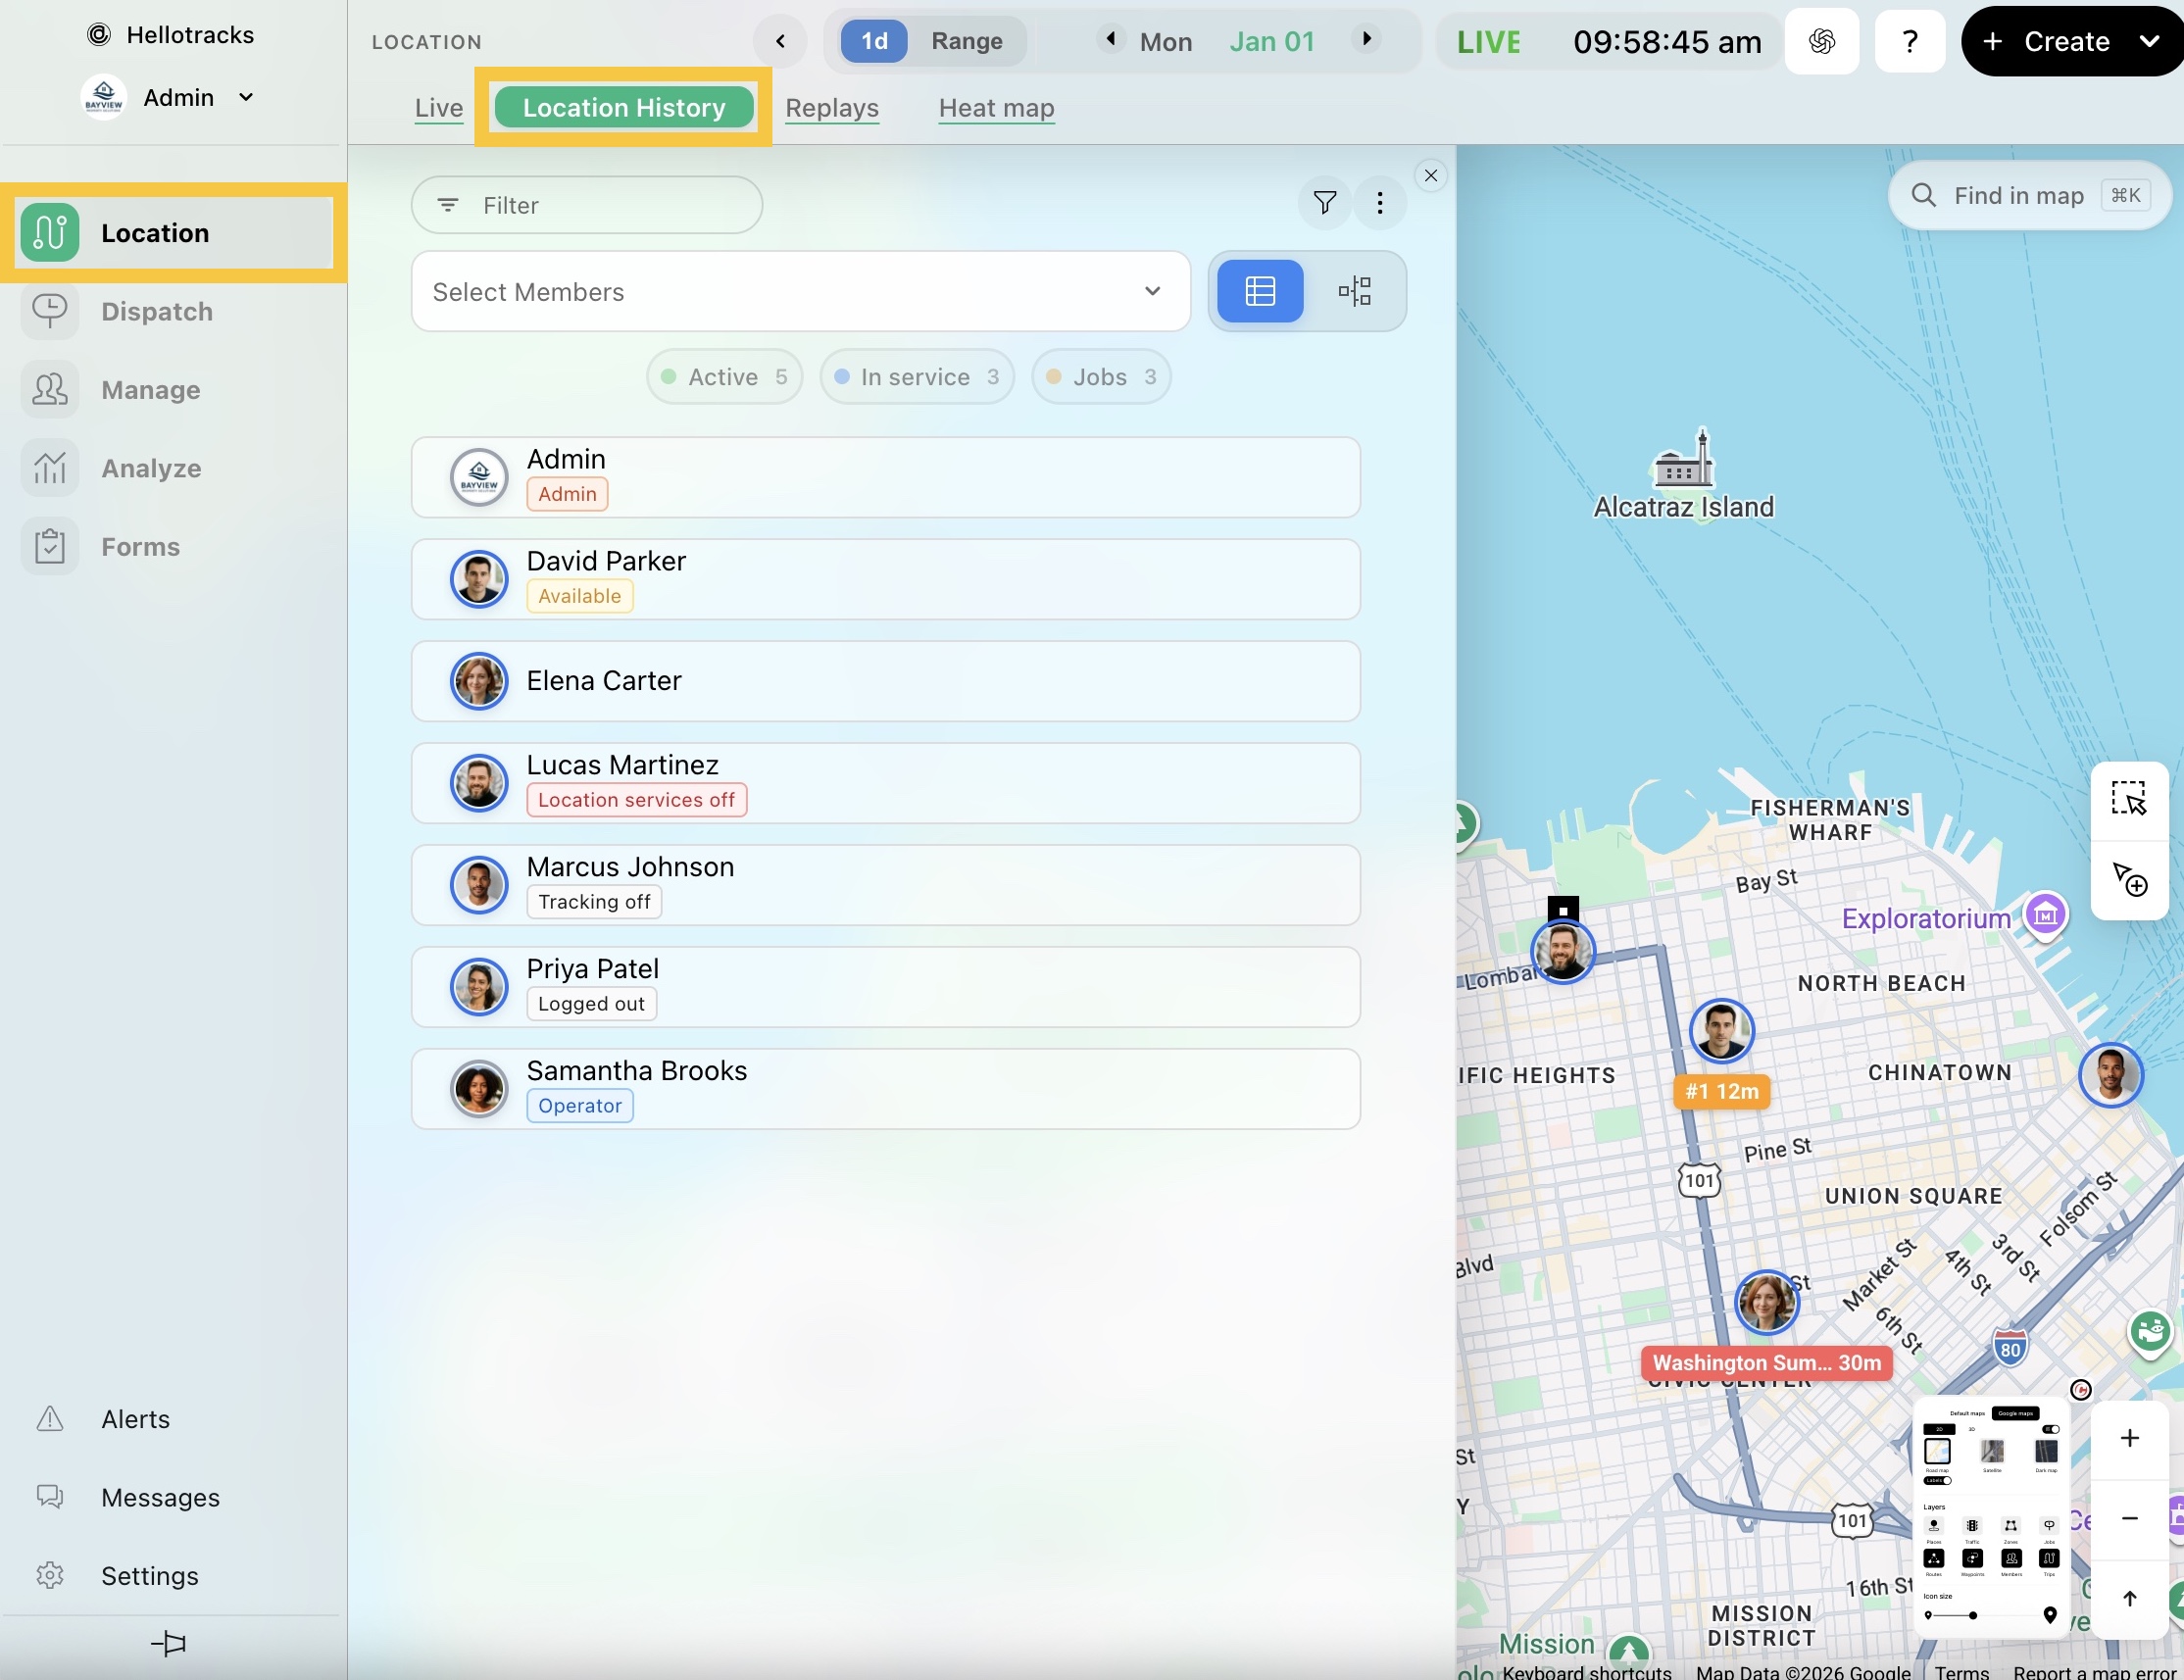
Step 1: Go to Location from the main menu, then select Location History.
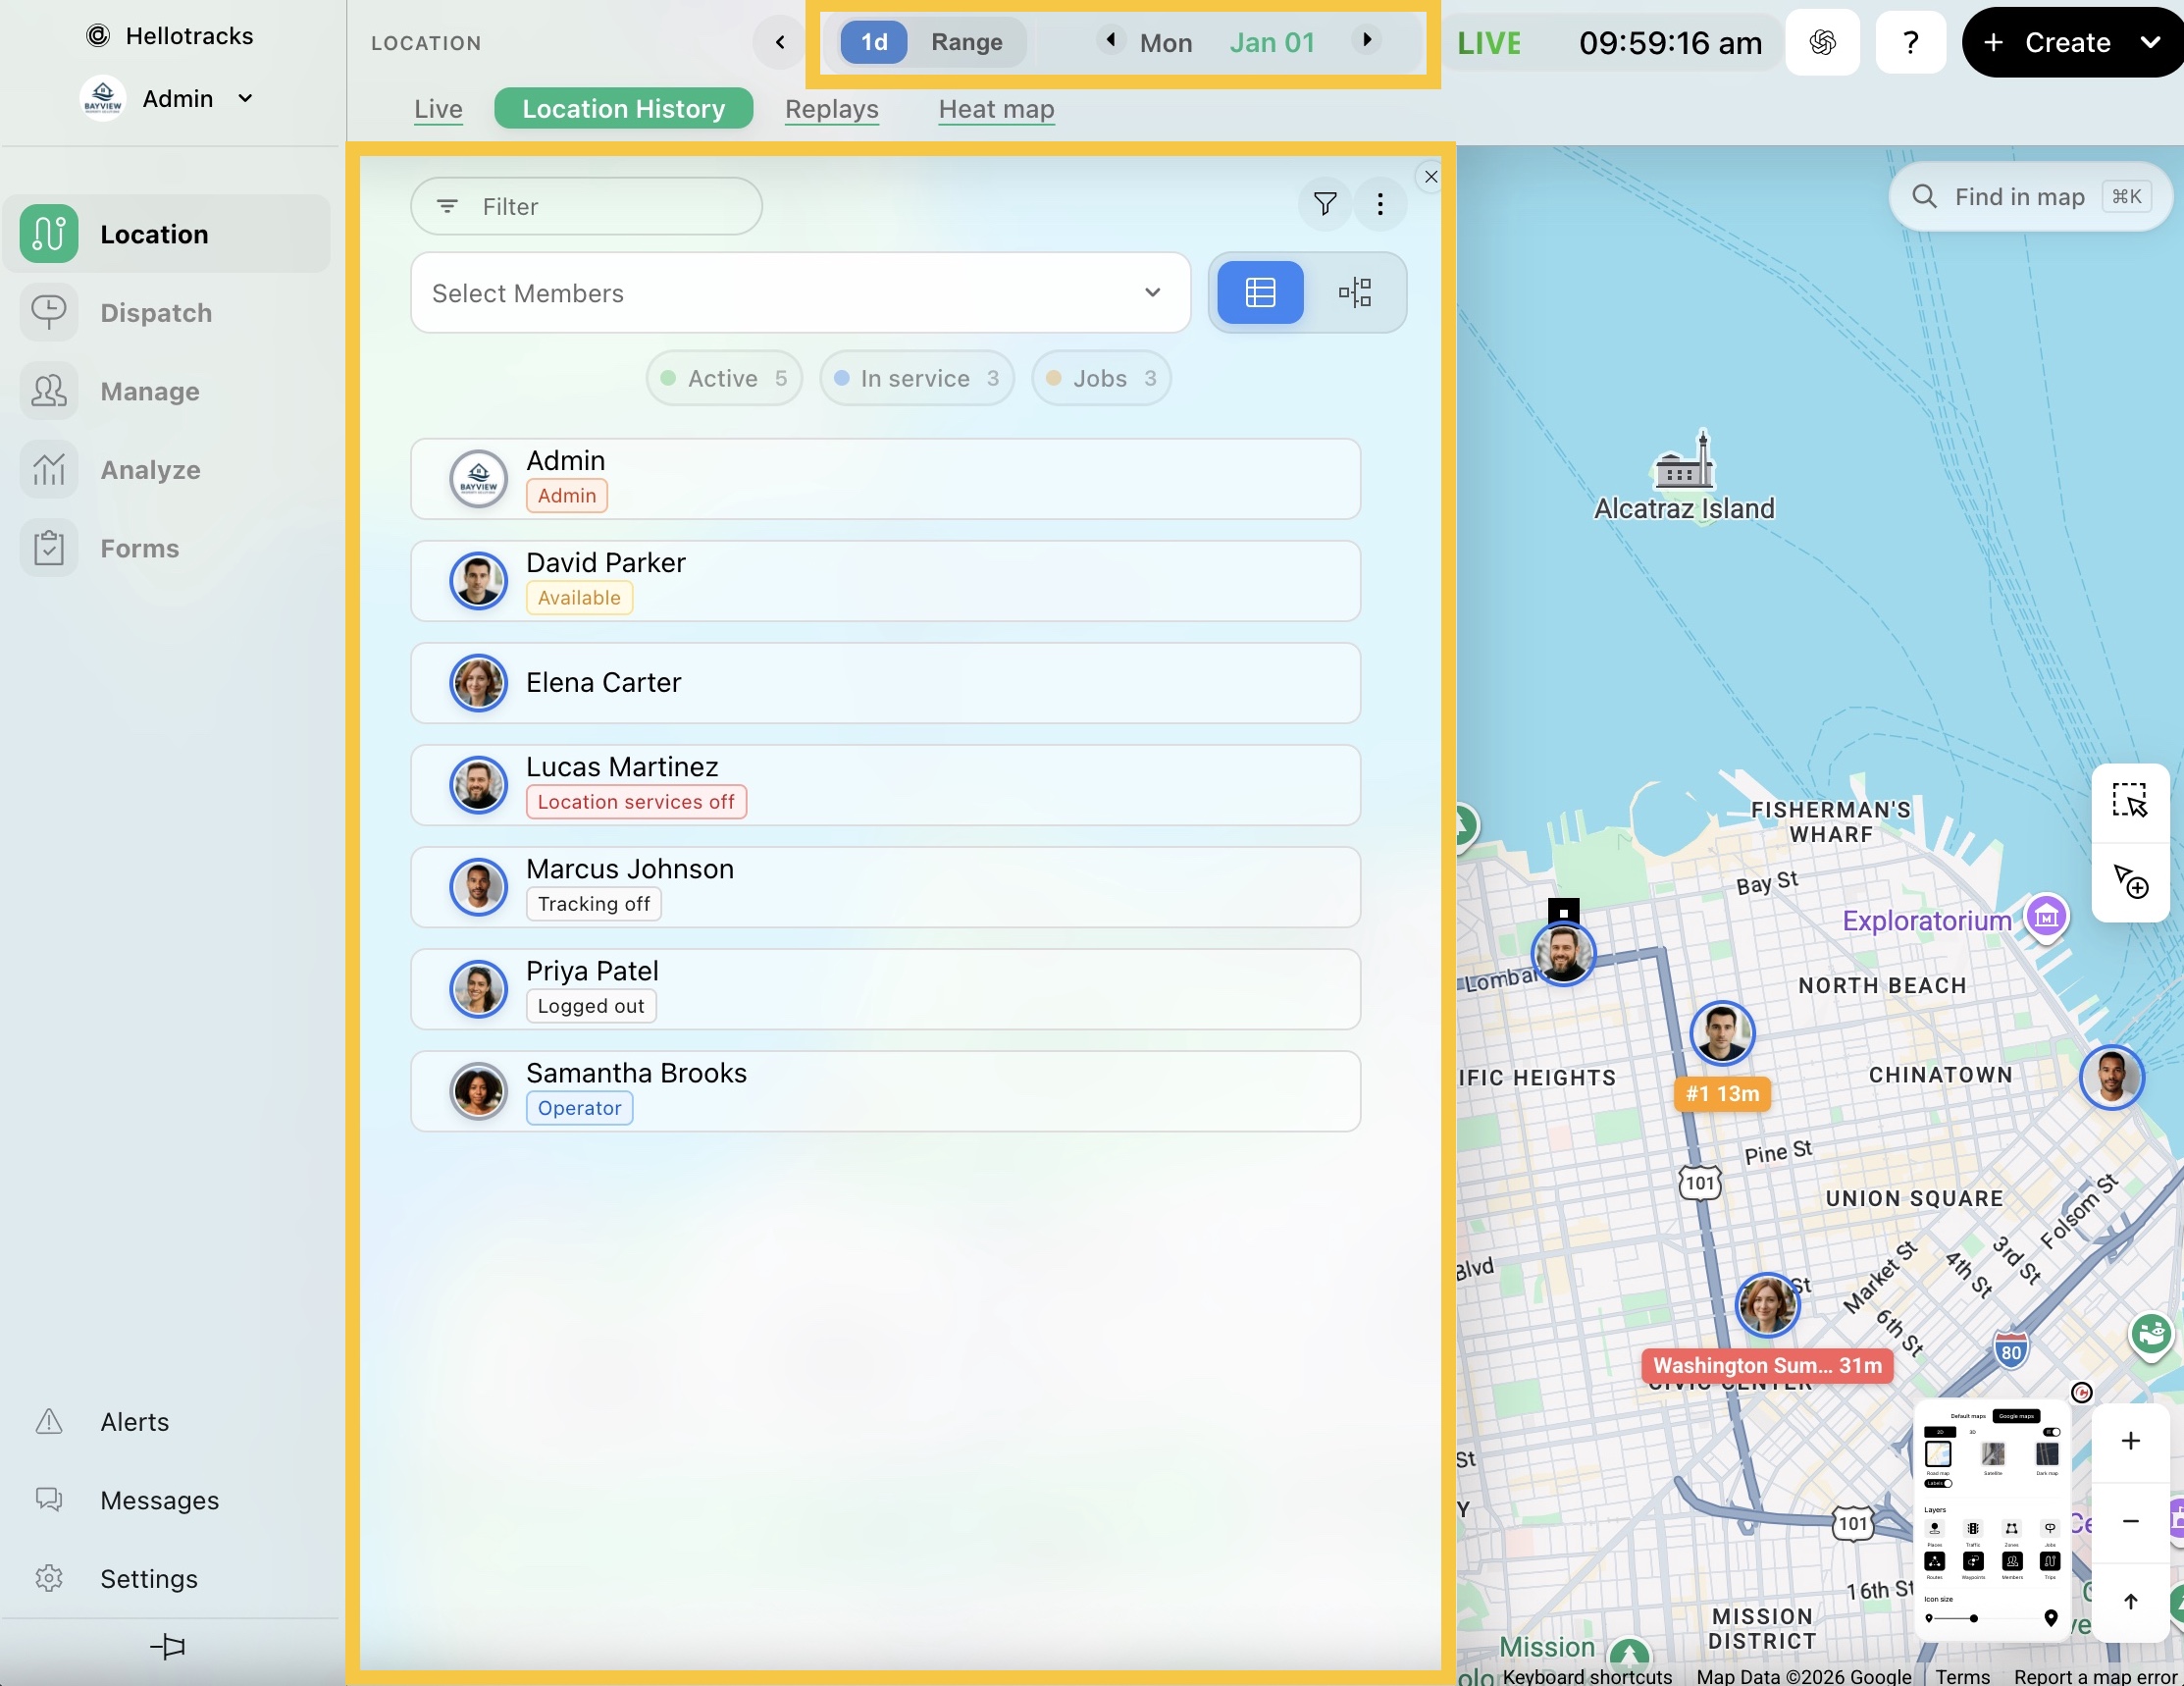
Step 2: Select the member and the date you want to view. You can also choose Range to view registered trips over multiple days.
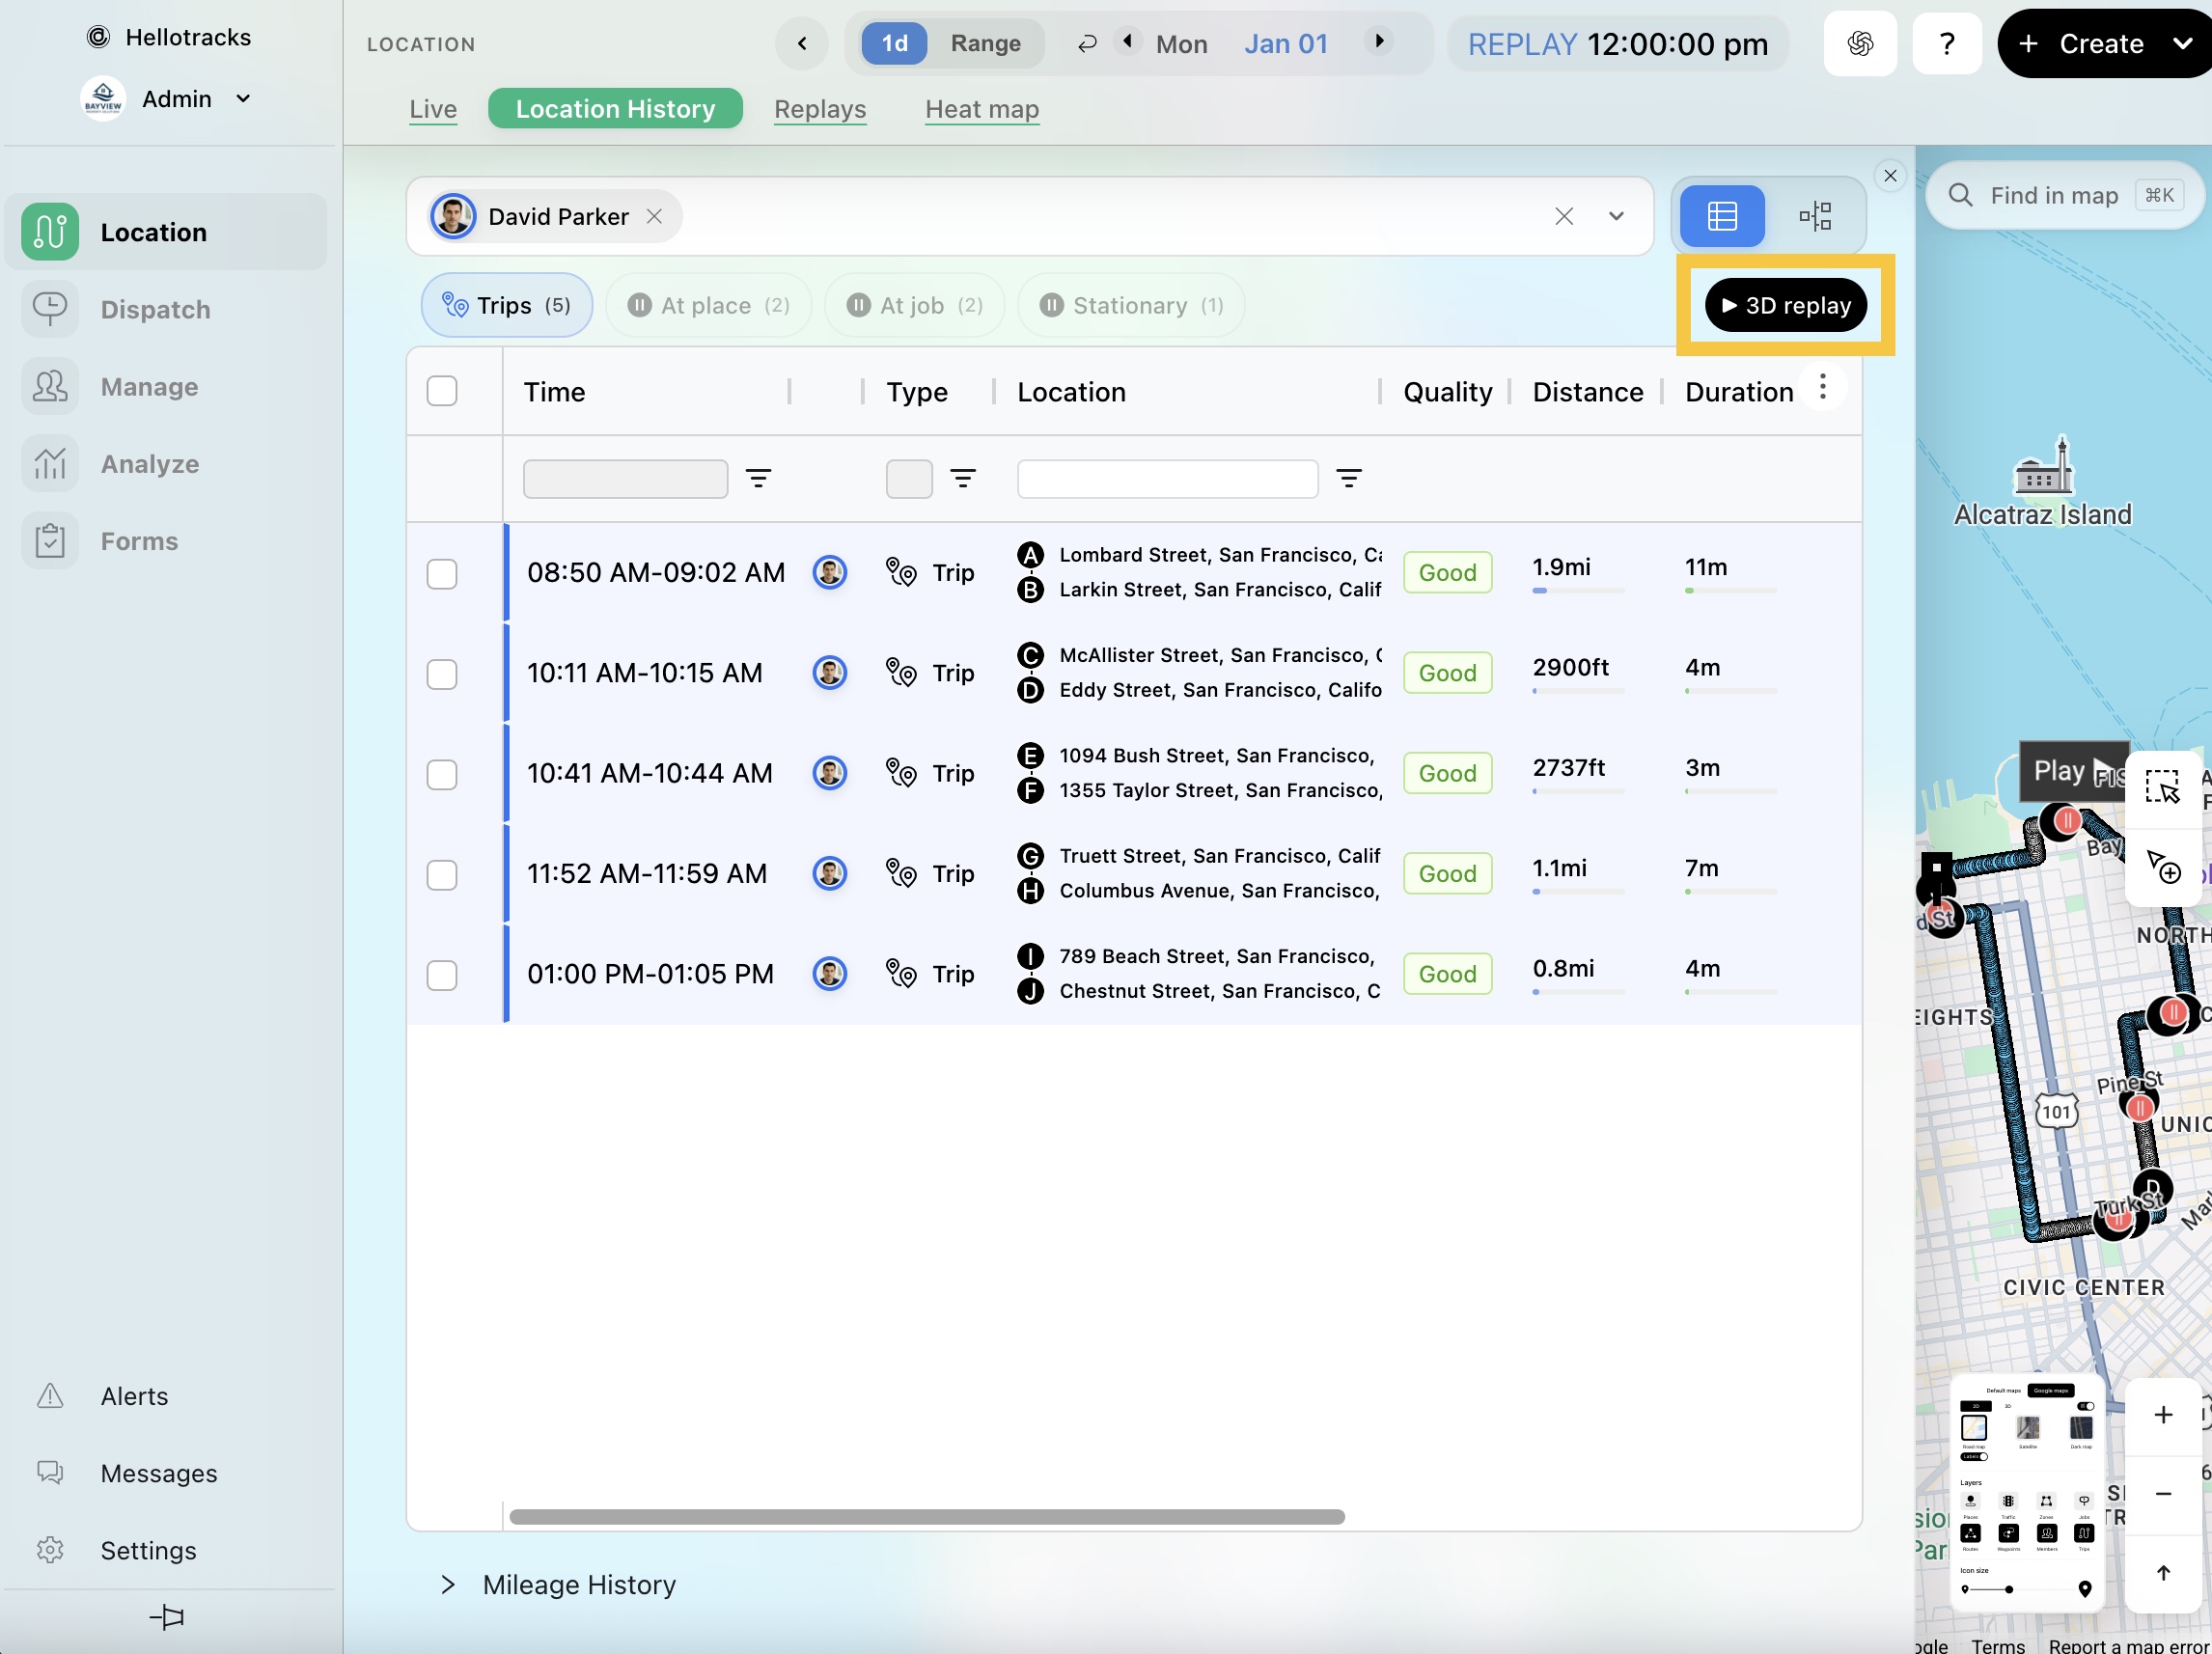
Step 3: From the Trips and Stops view, apply the Trips filter to show registered trips.
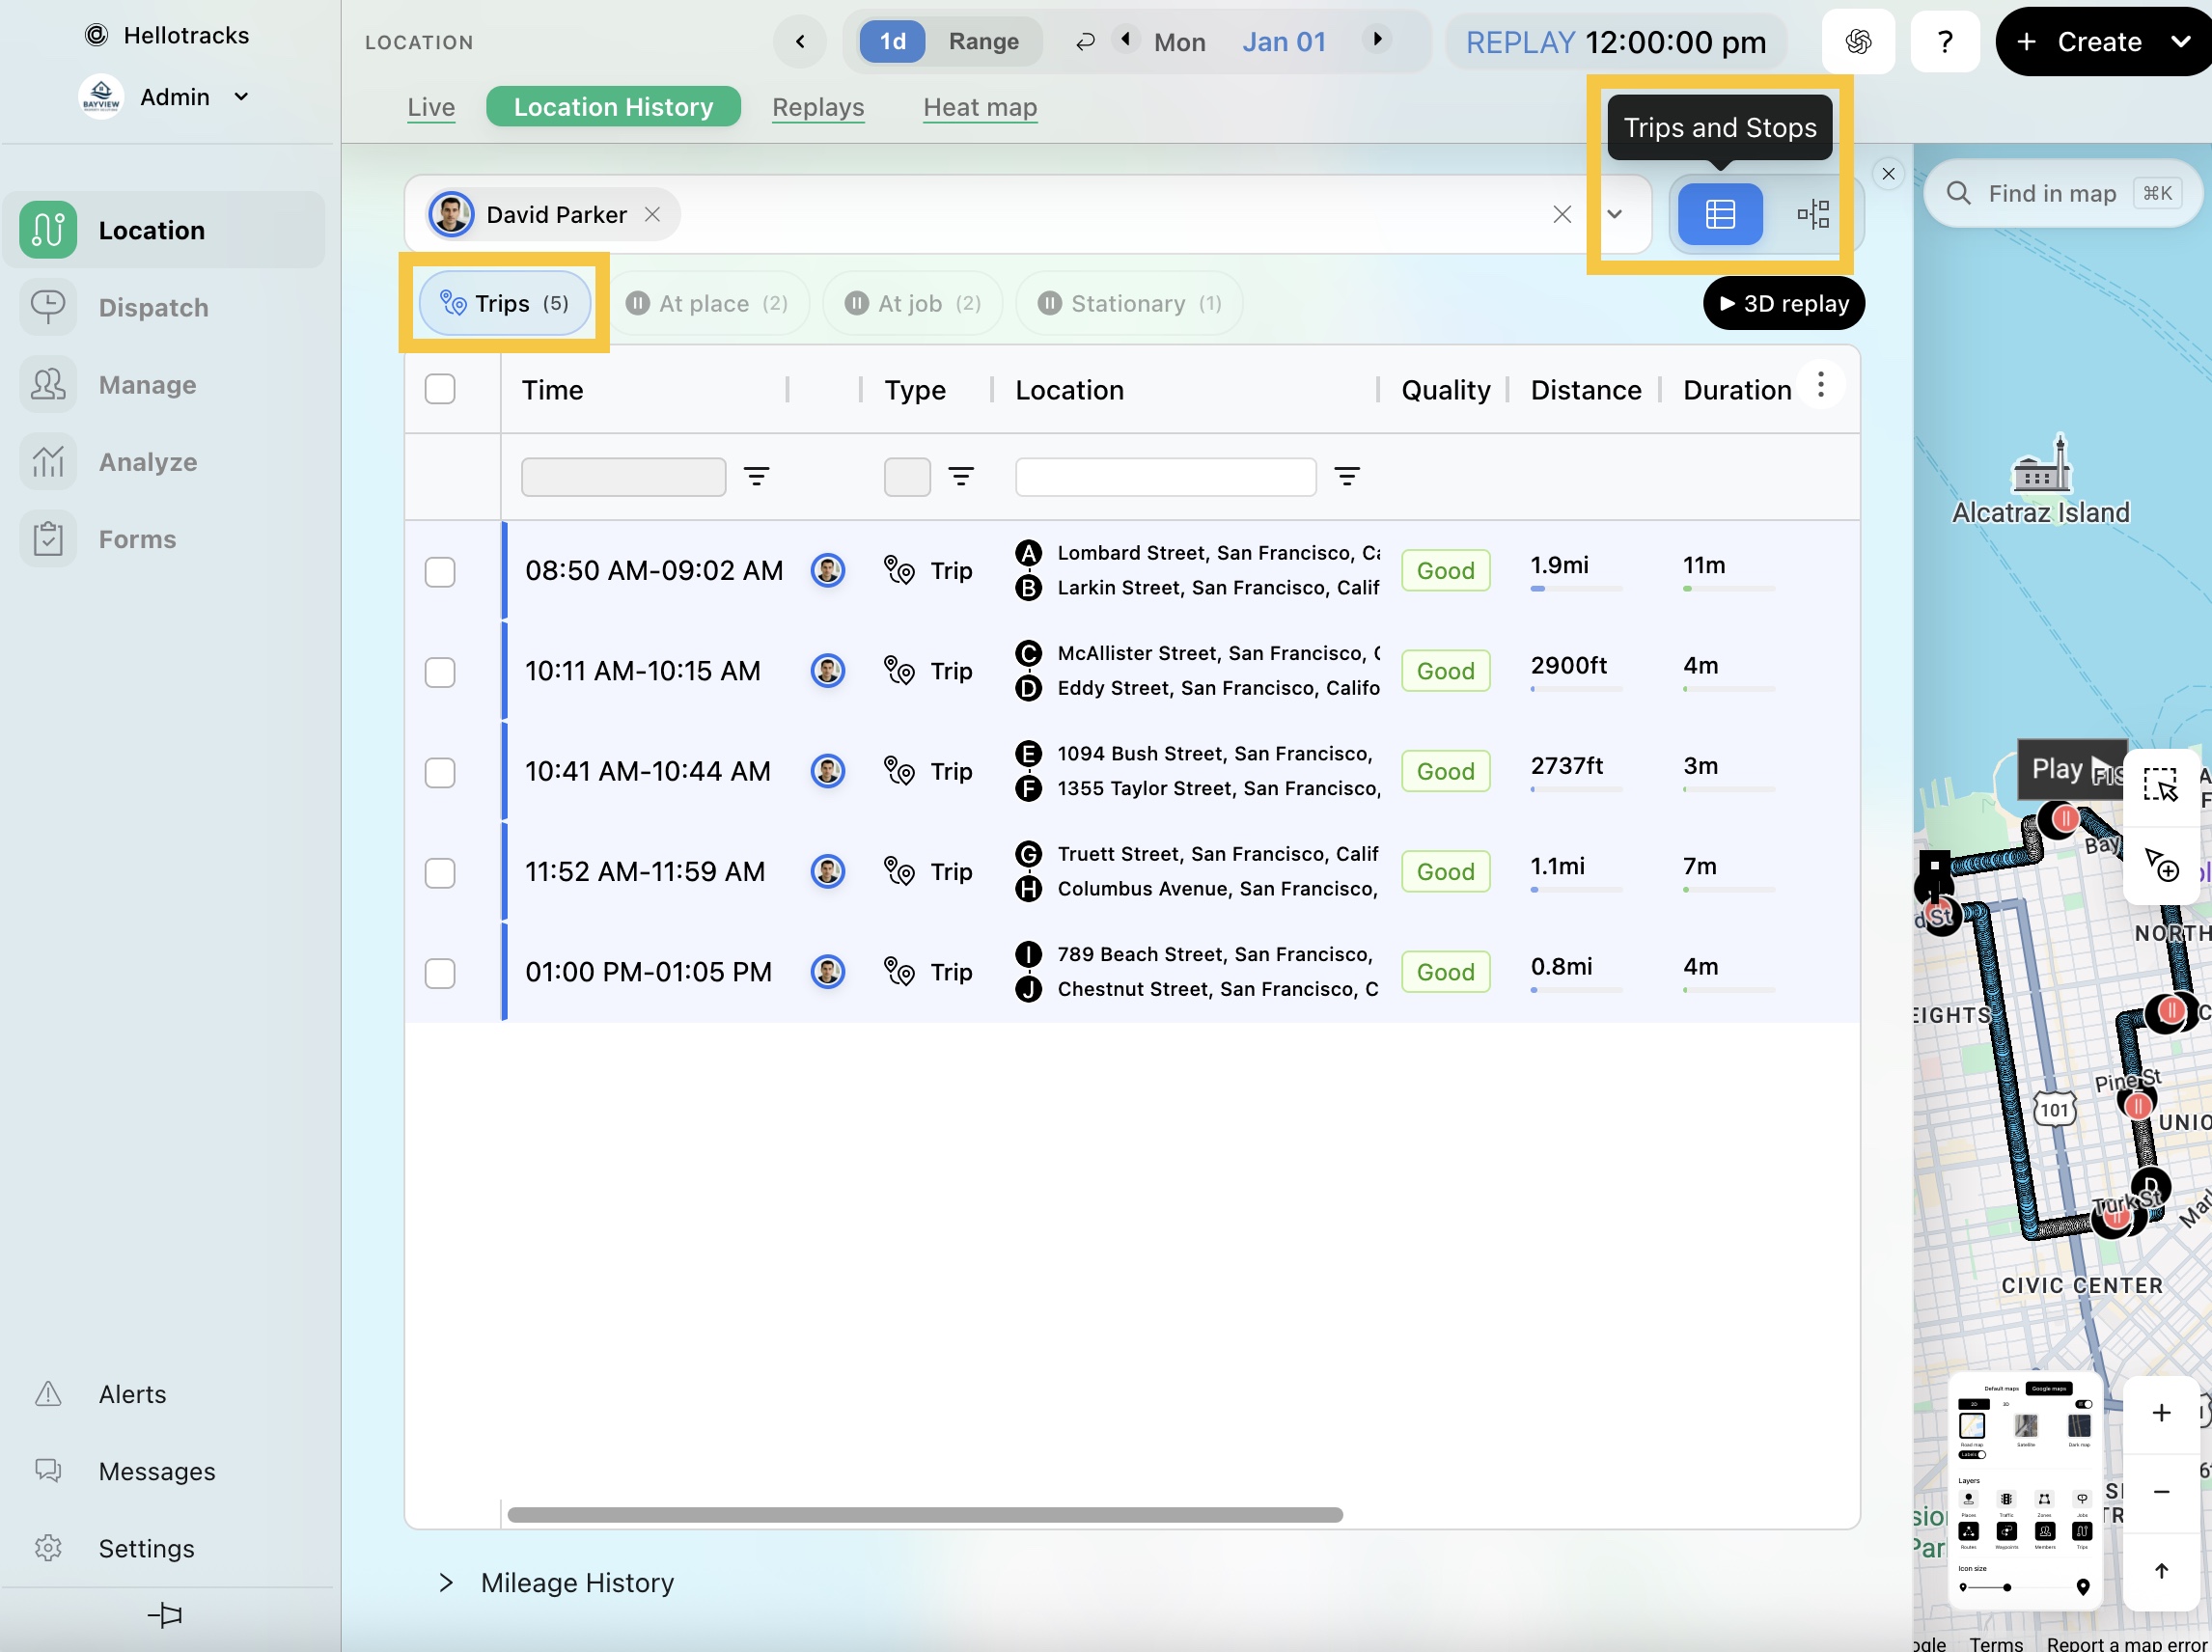
Step 4: Click 3D replay to watch an animated replay of the trips, including stops, for the selected day on the map.
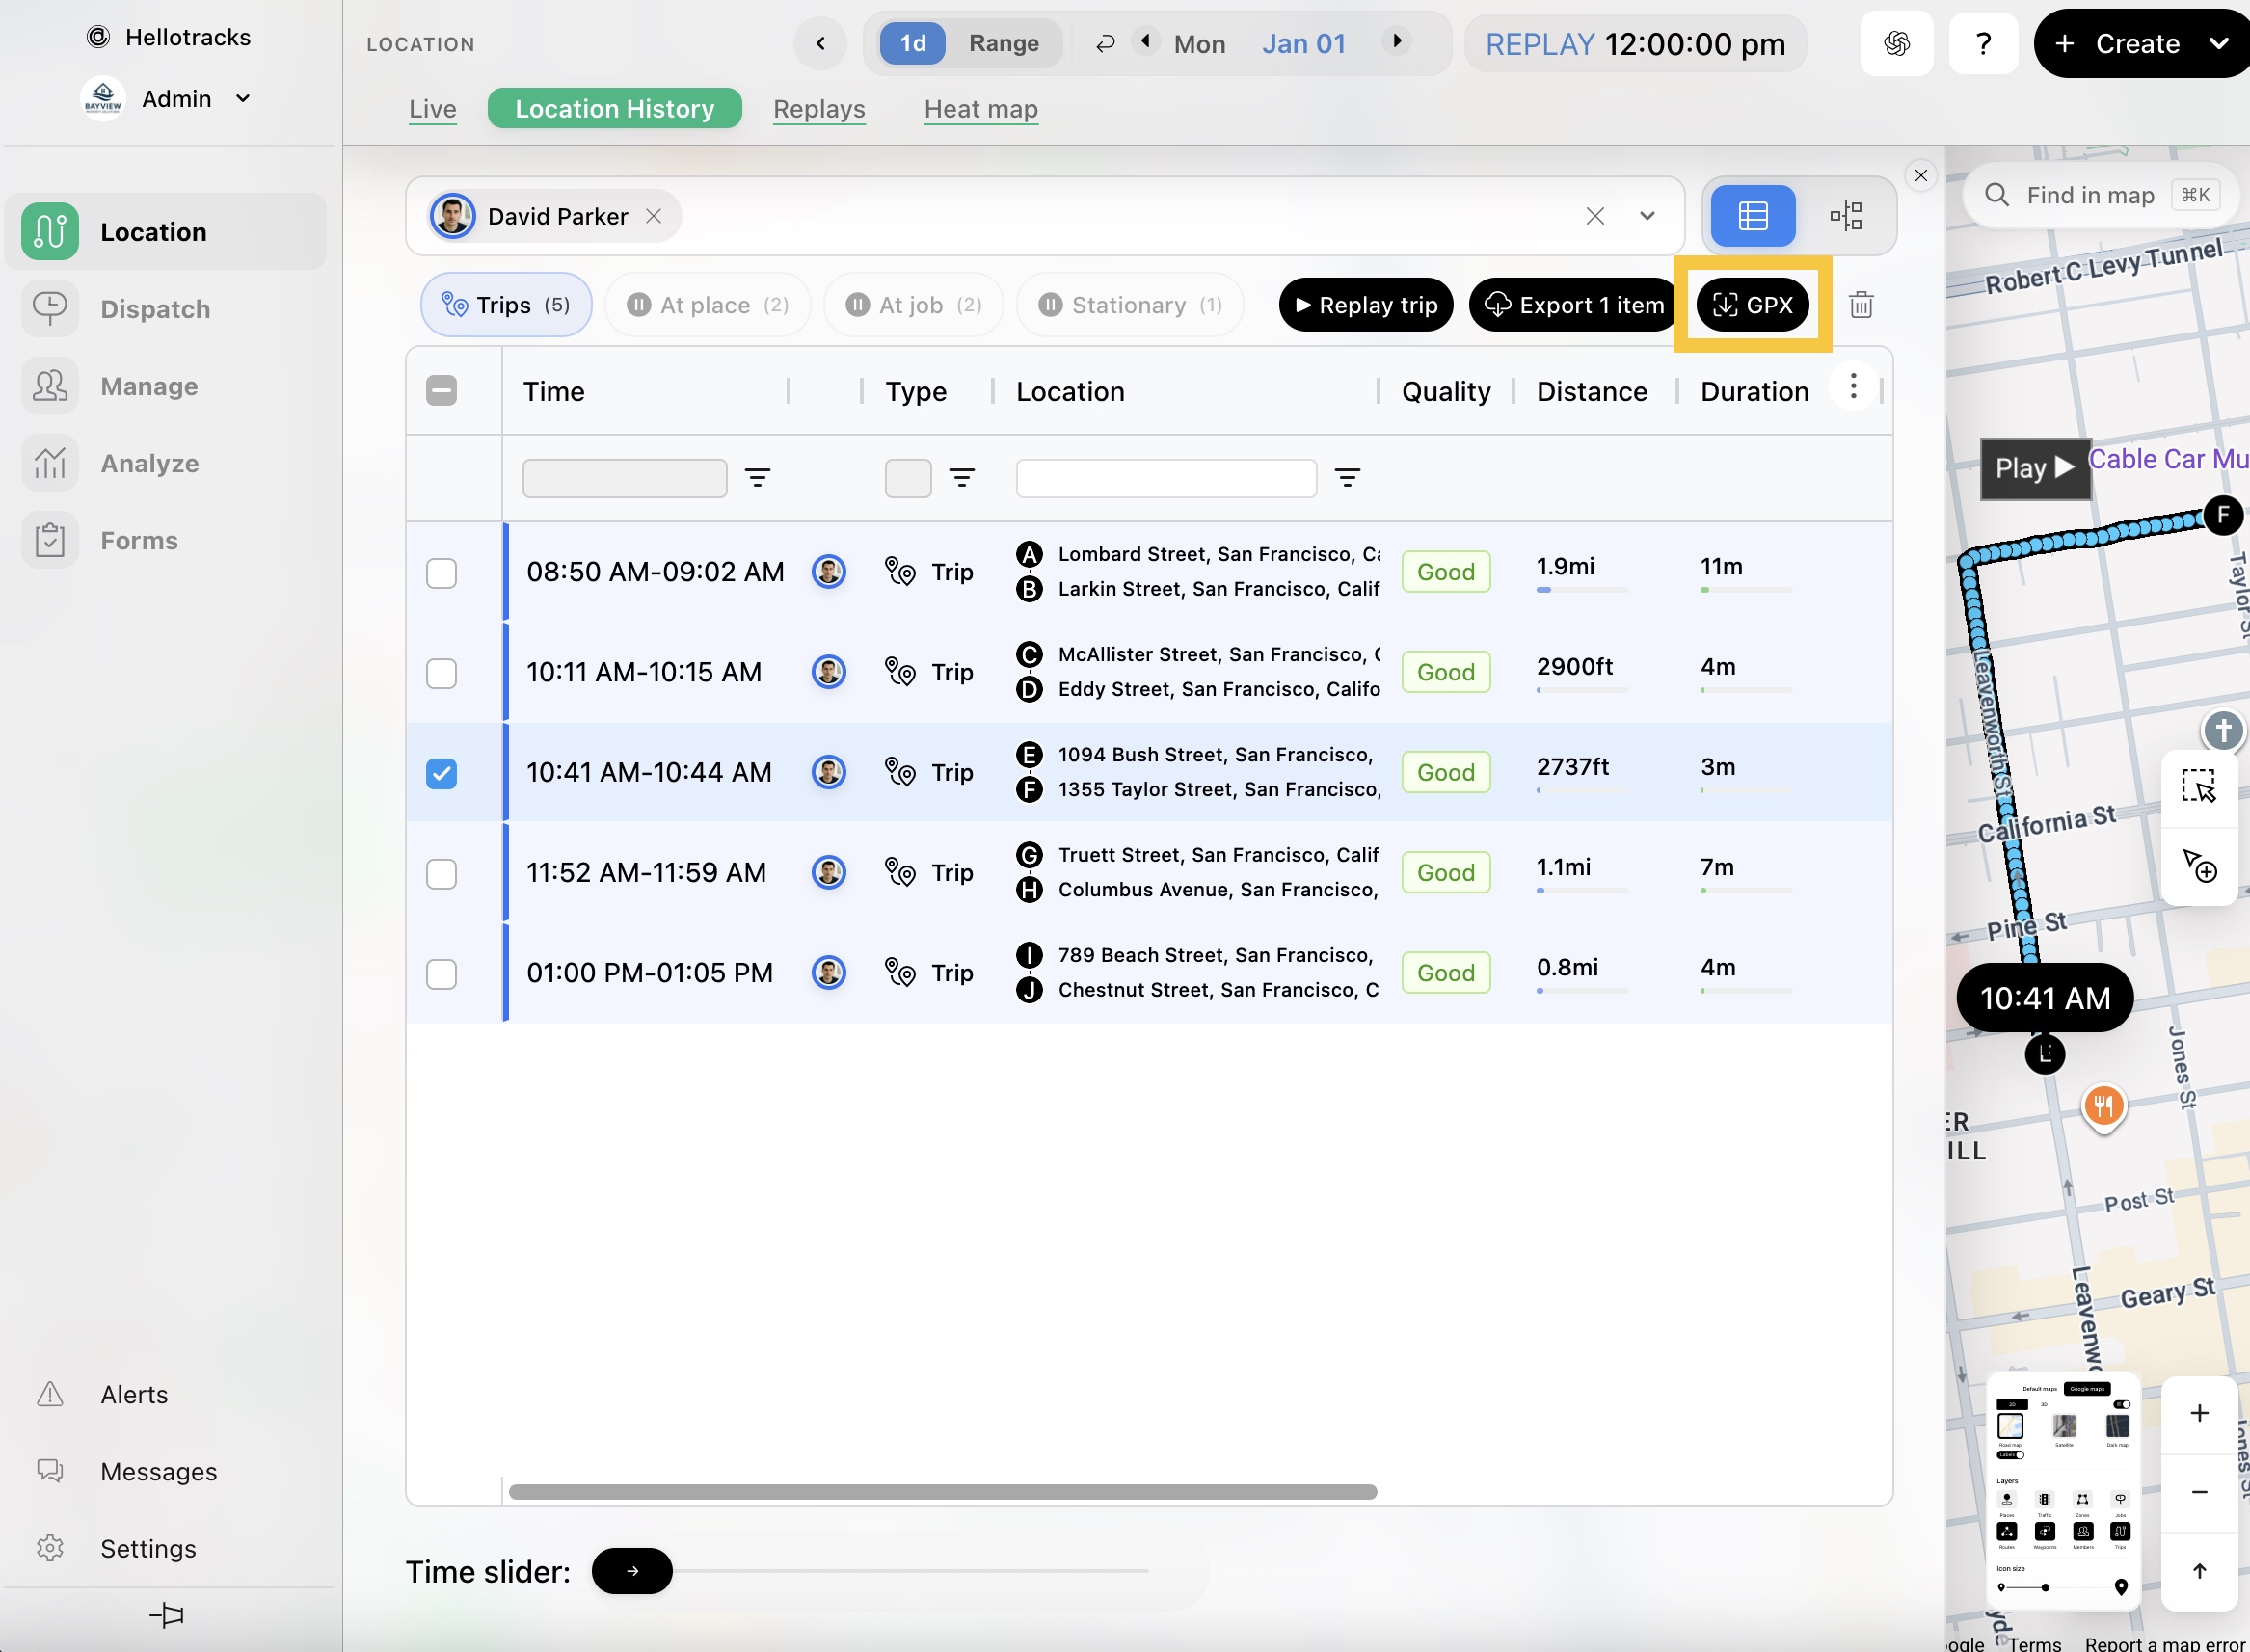
Step 5: Select one or more trips to display them on the map. To watch an animated replay of the selected trips, click the Replay trip button.
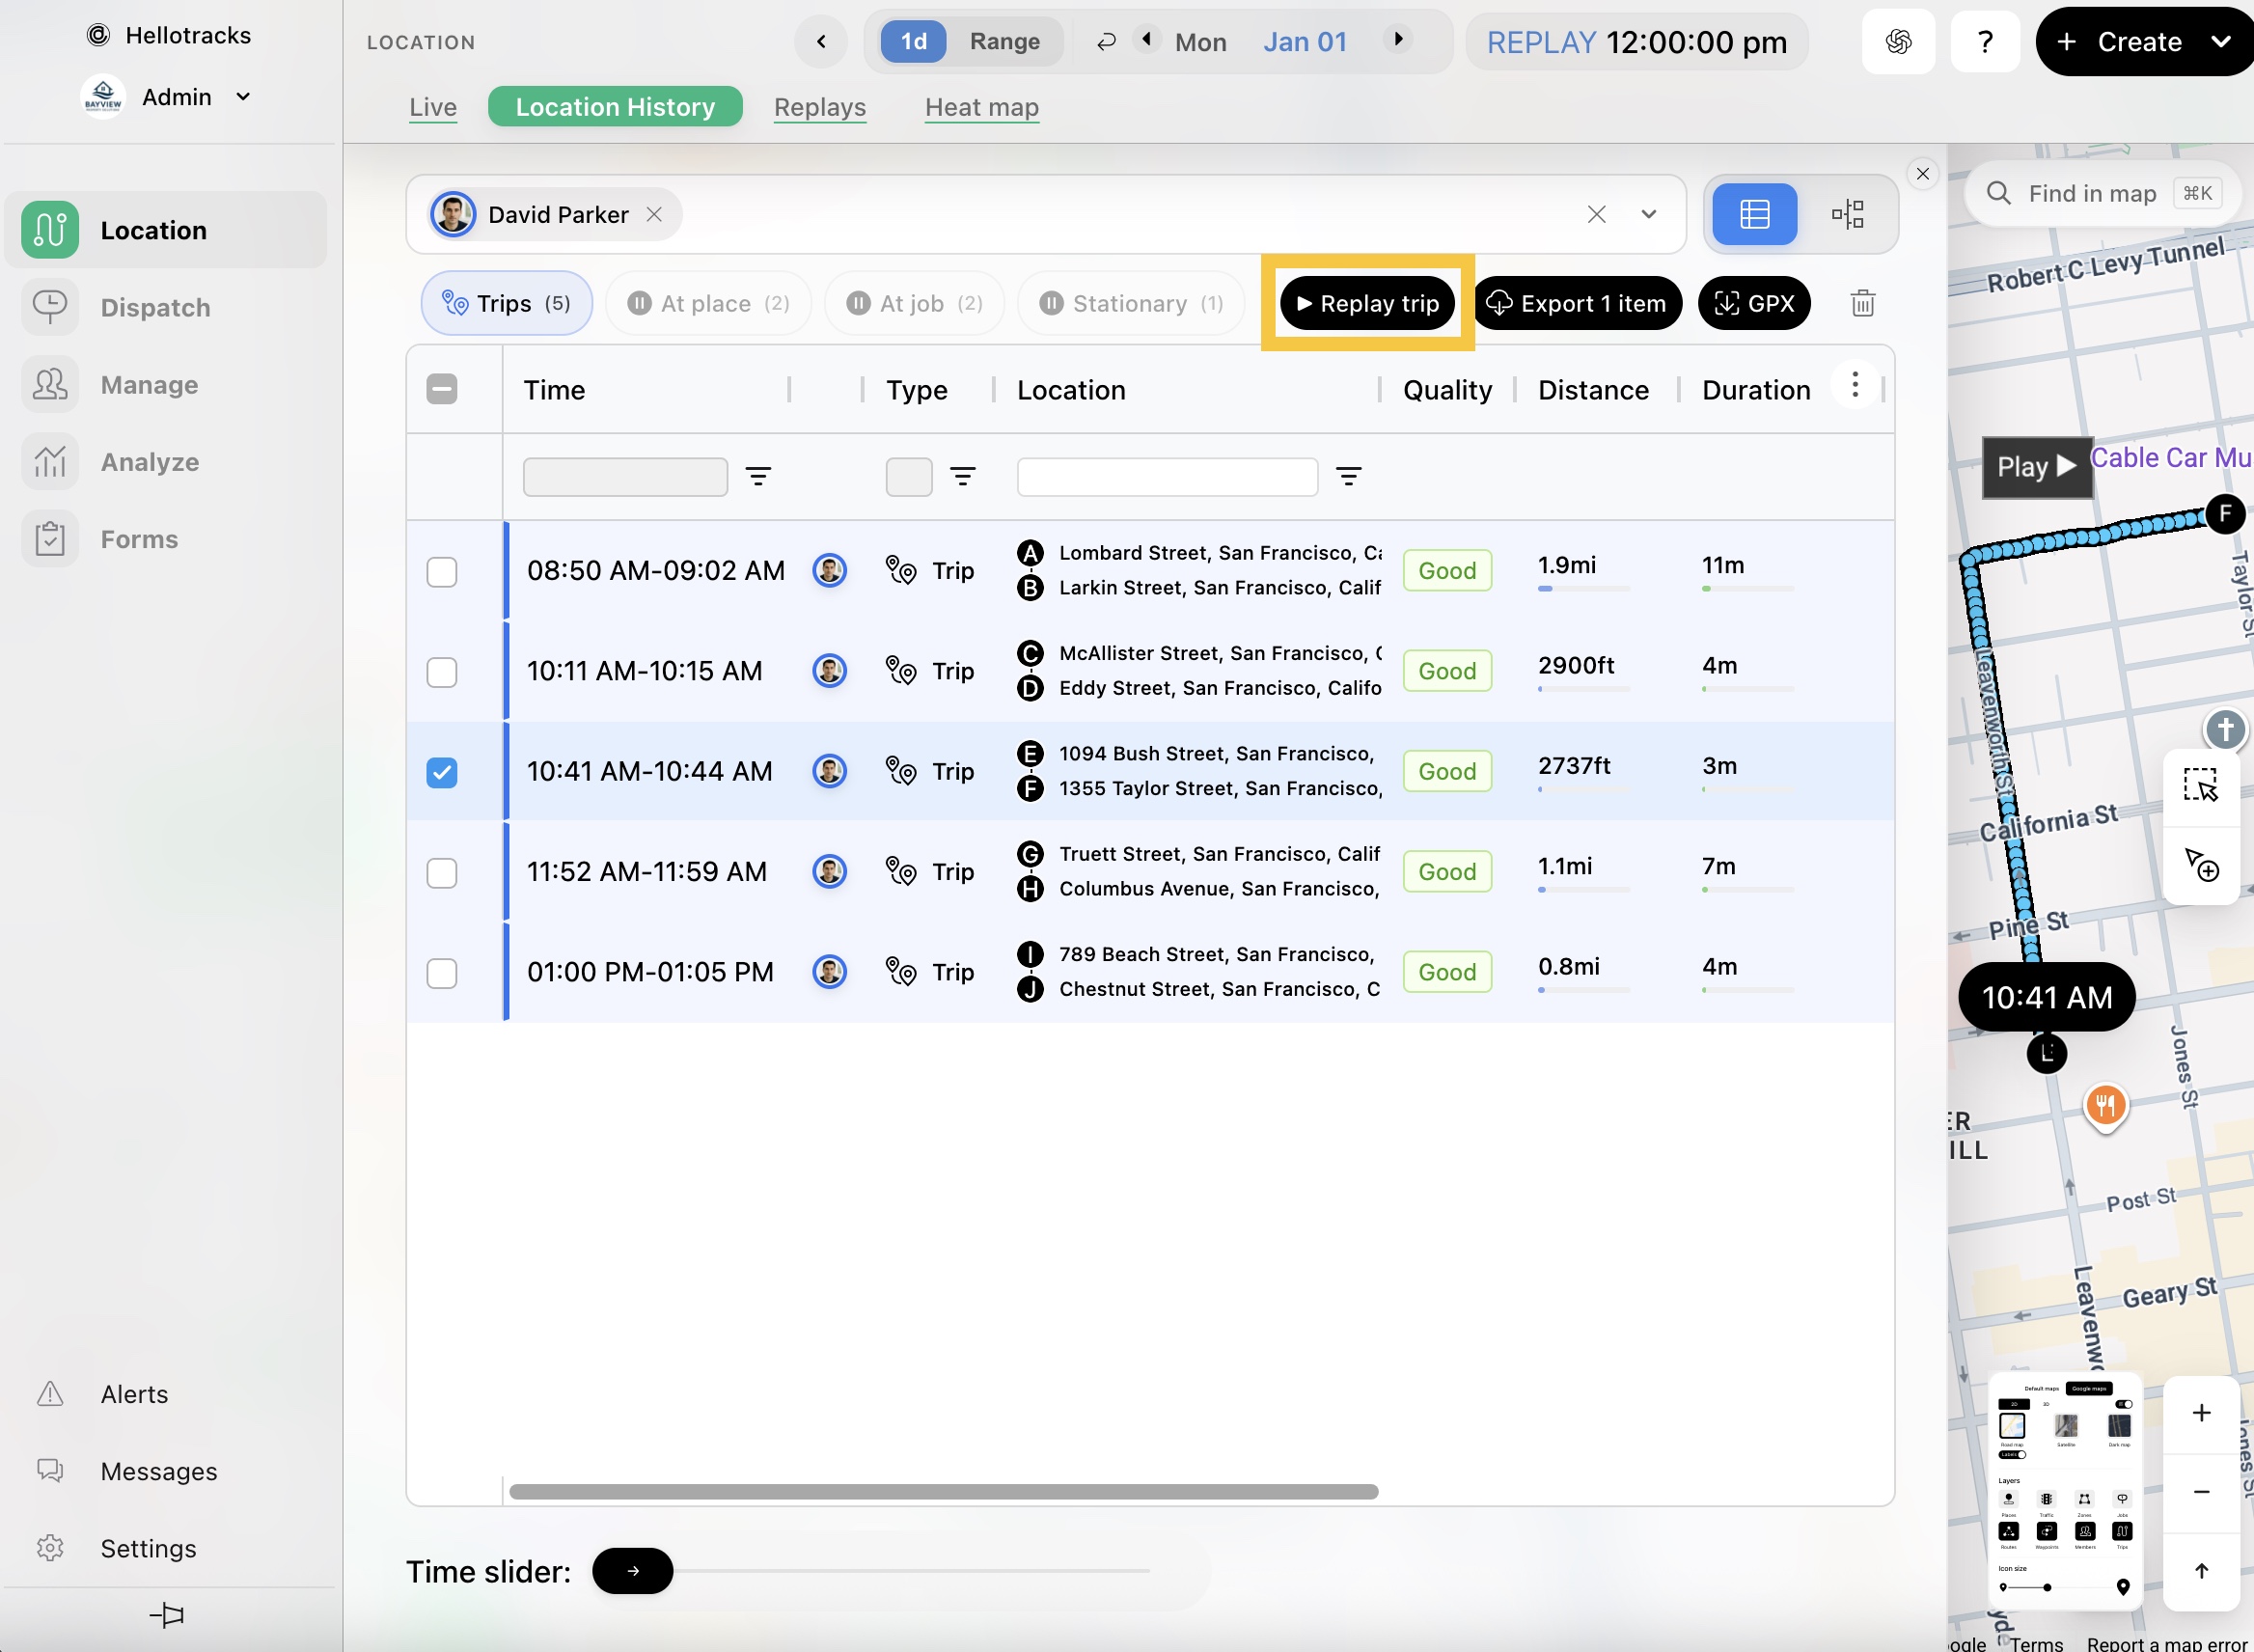
Note: When a single trip is selected, a Time slider appears below the table. Drag the slider to move through the trip and view the corresponding location and time on the map. When multiple trips are selected, click the back arrow (<) at the top to show the Time slider. To learn more, click here.
Step 6: To export the data, click the Export item button.
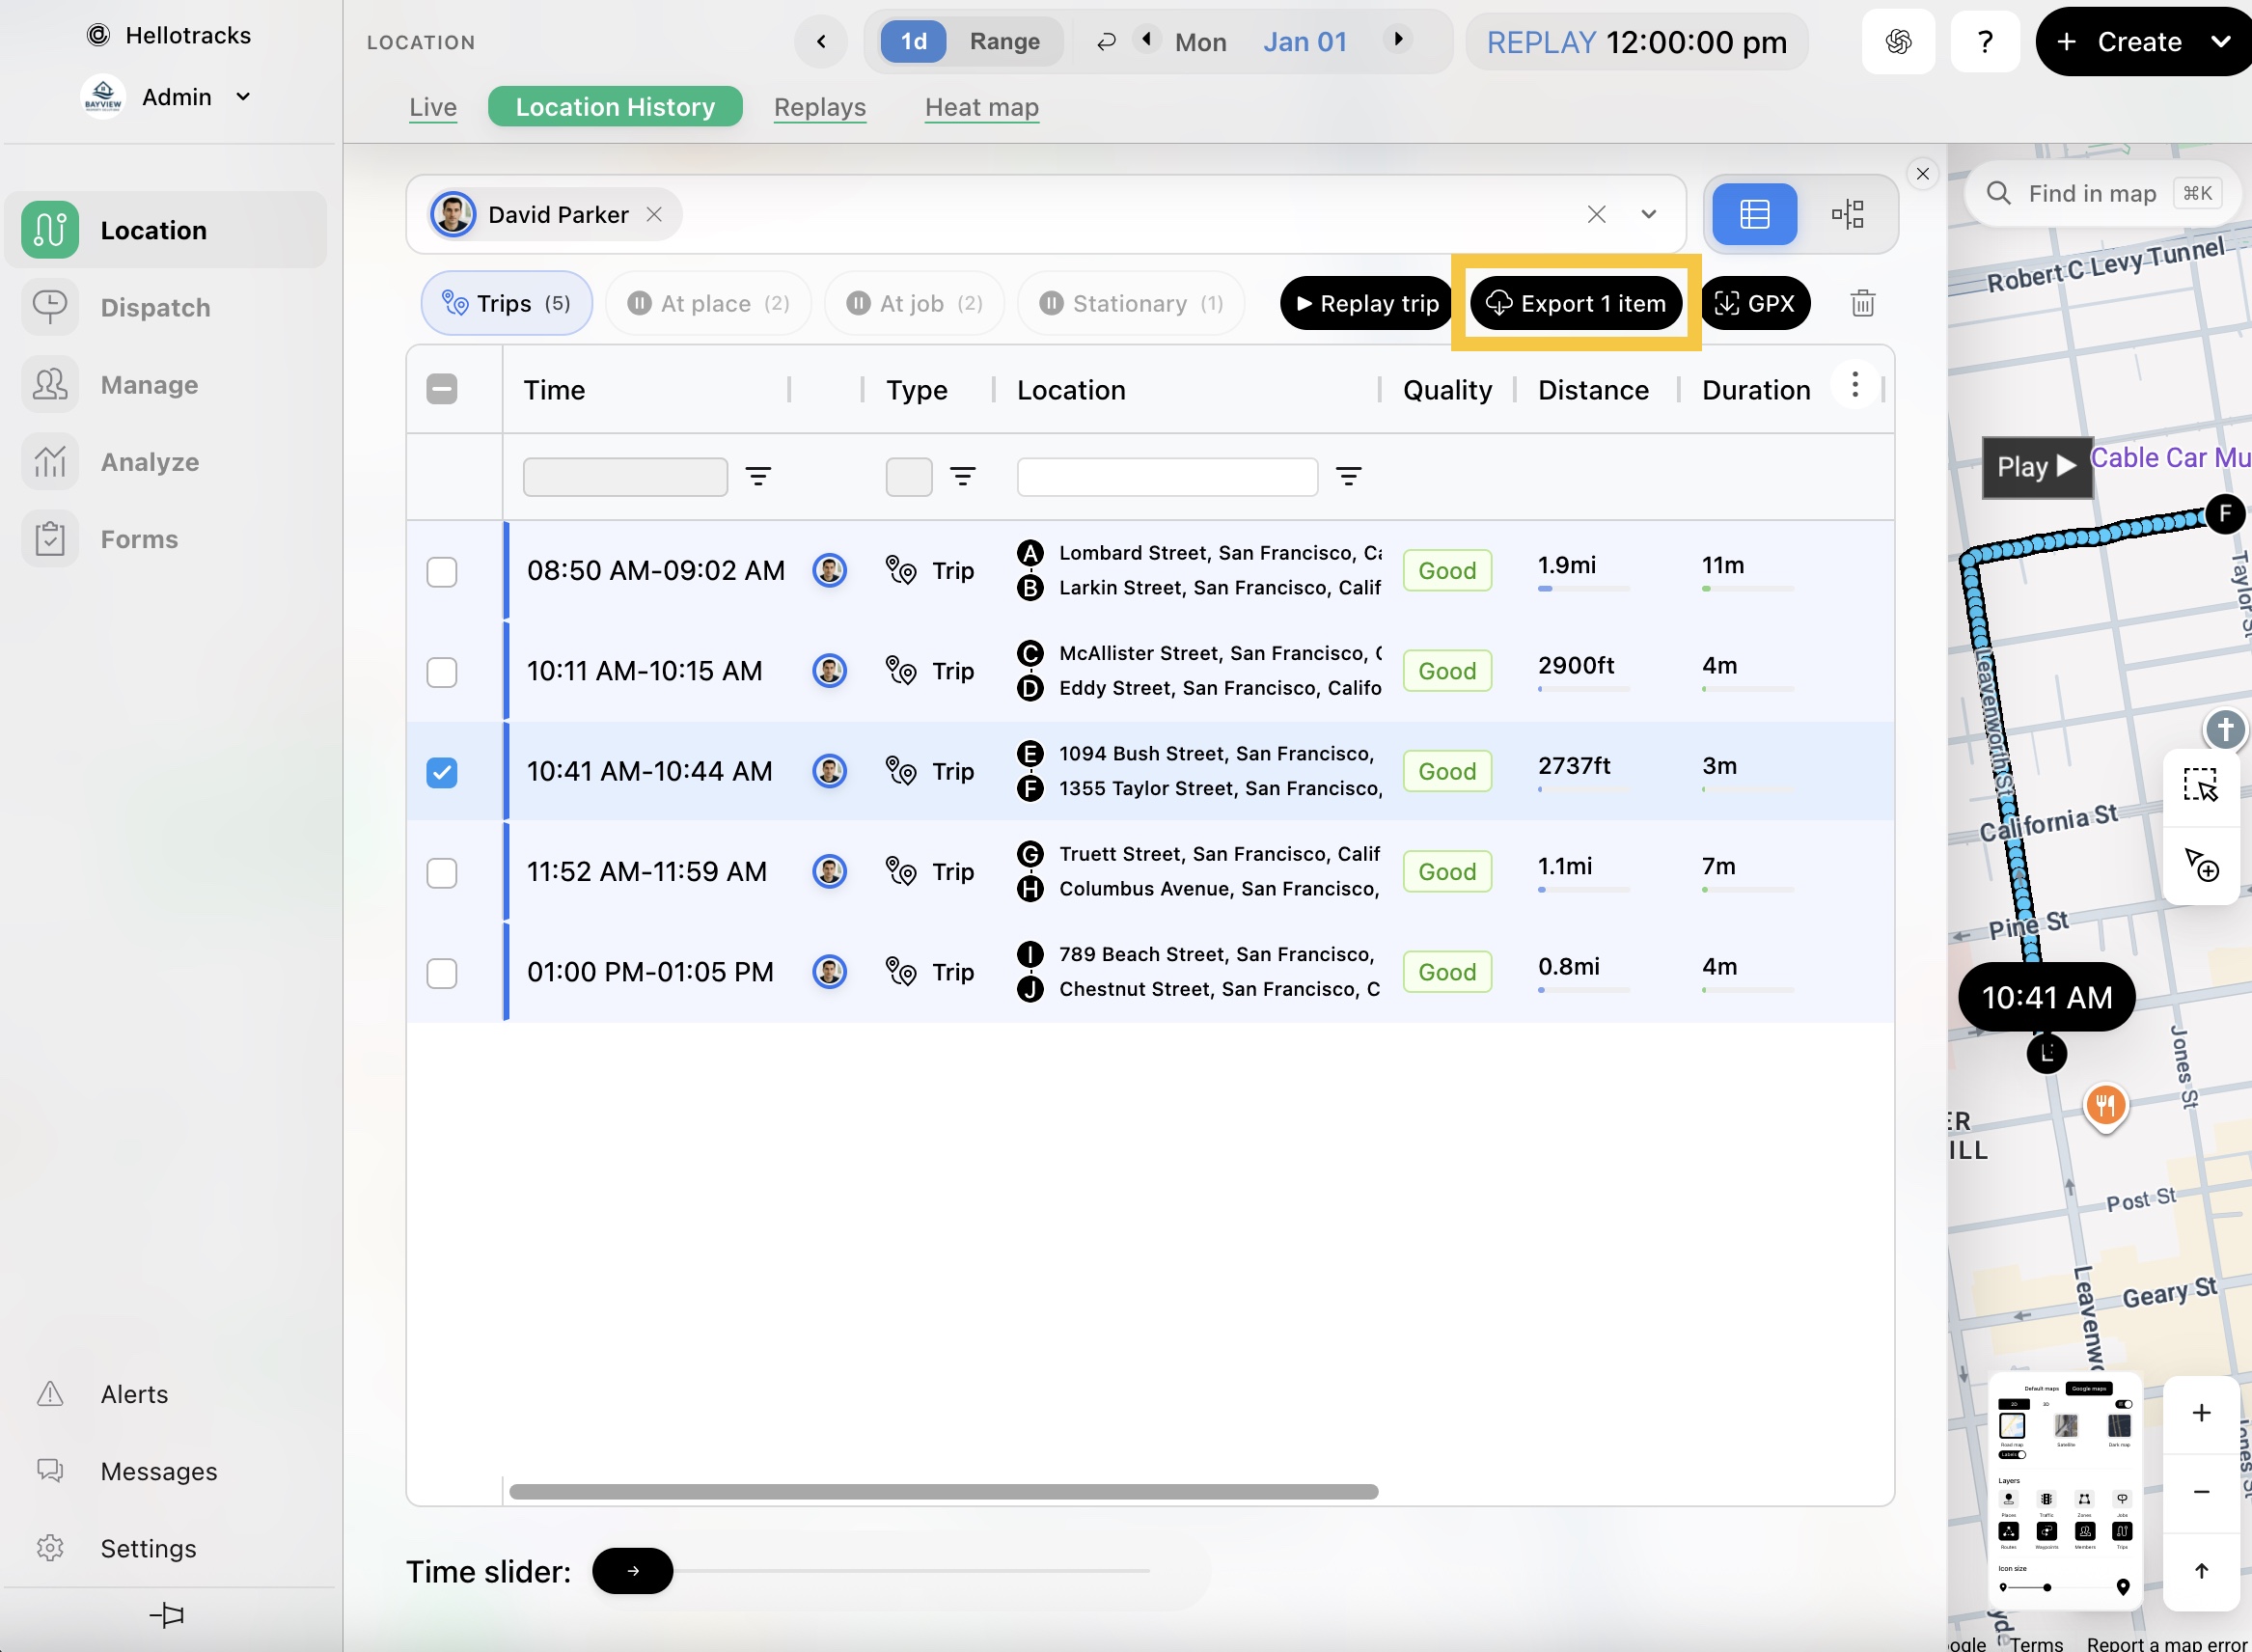
Note: Export item only includes the columns currently visible in the table. For a mileage summary across a selected date range, generate a Mileage report in Reports. To learn how to export a Mileage report, click here.
Step 7: To save trips as a GPX file, click the GPX button.