How to Add Label to a Job
This guide explains the concept of job labels, a powerful feature for organizing and categorizing your team's tasks. By adding custom, color-coded labels, you can quickly identify jobs by their status, type, or priority, allowing you to easily filter, search, and manage your team's workflow at a glance.
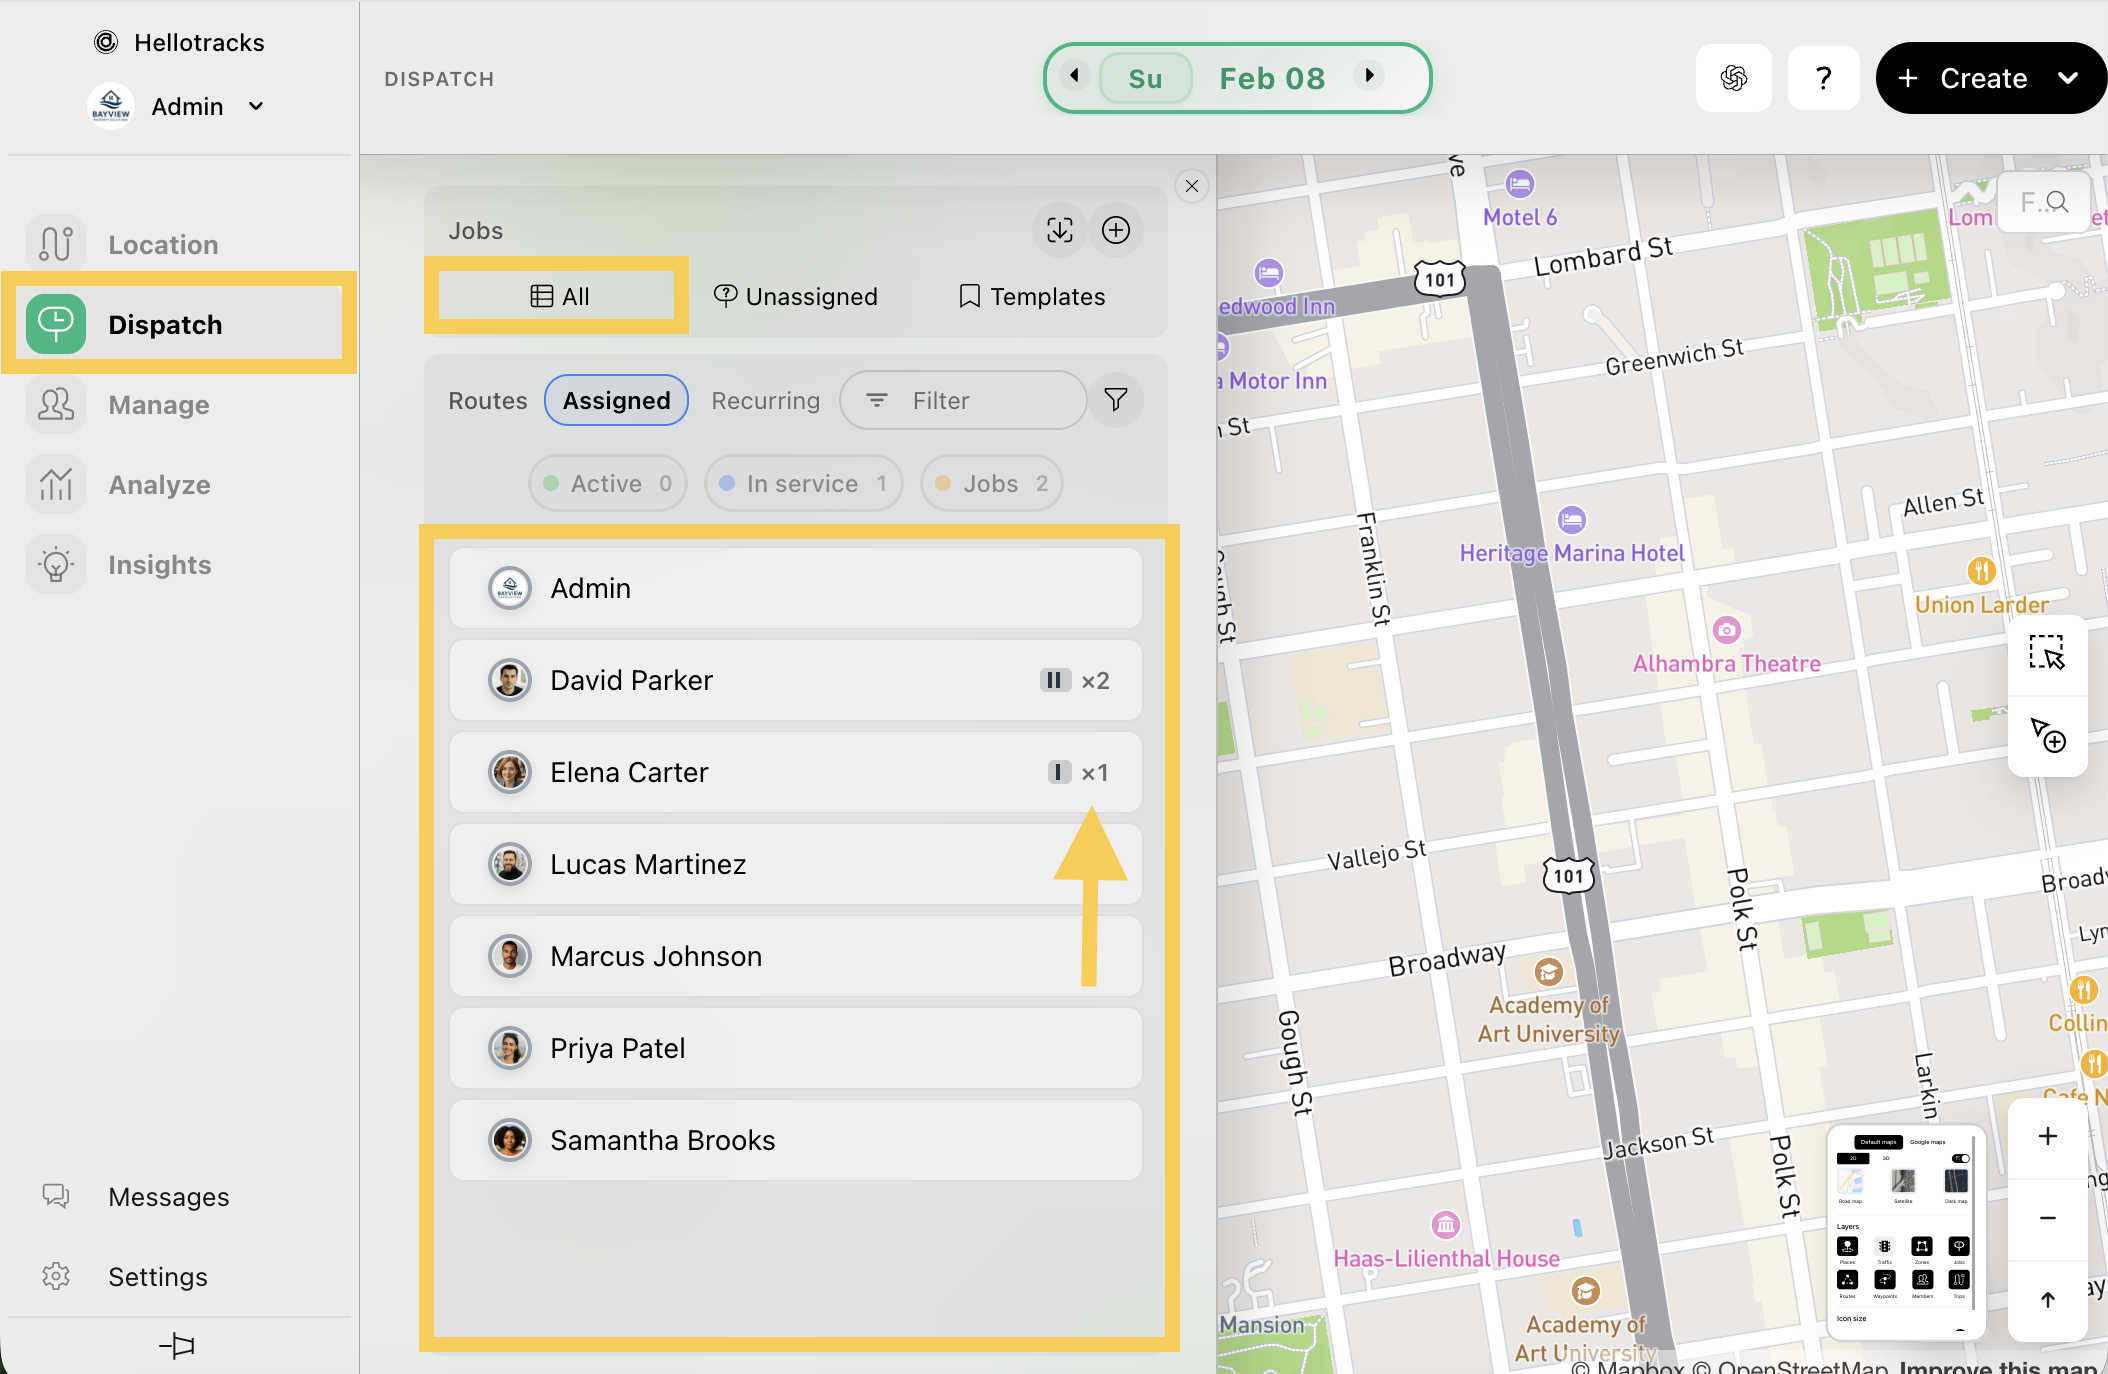
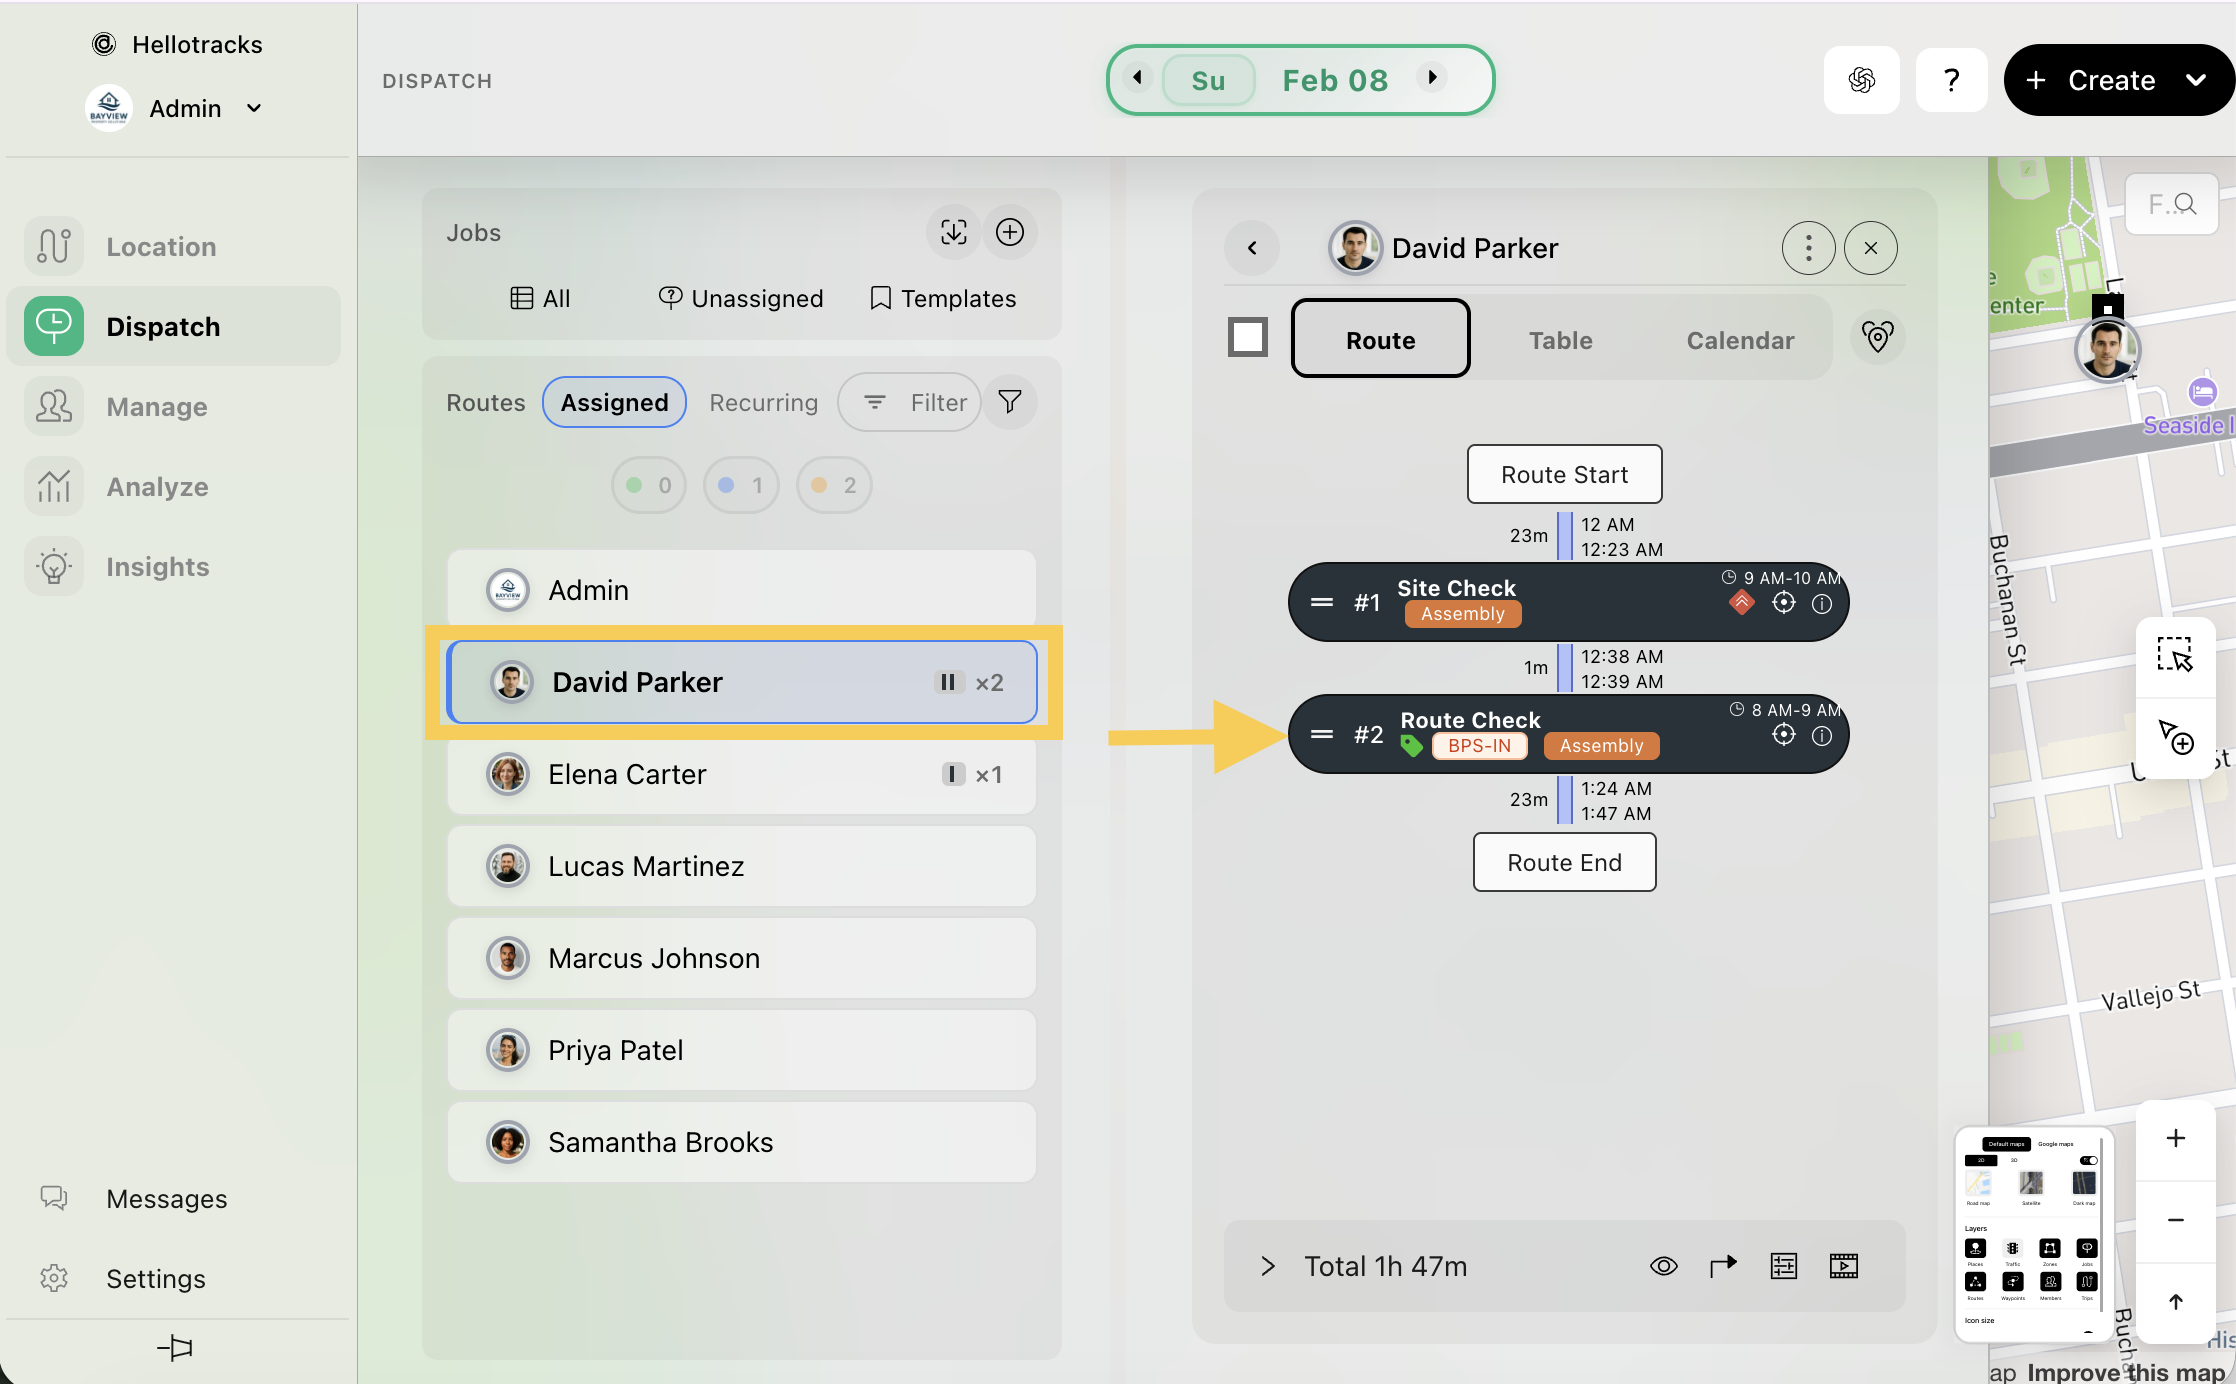
Step 1: Go to the Dispatch menu and select All jobs, or select a team member to see only their assigned Jobs.
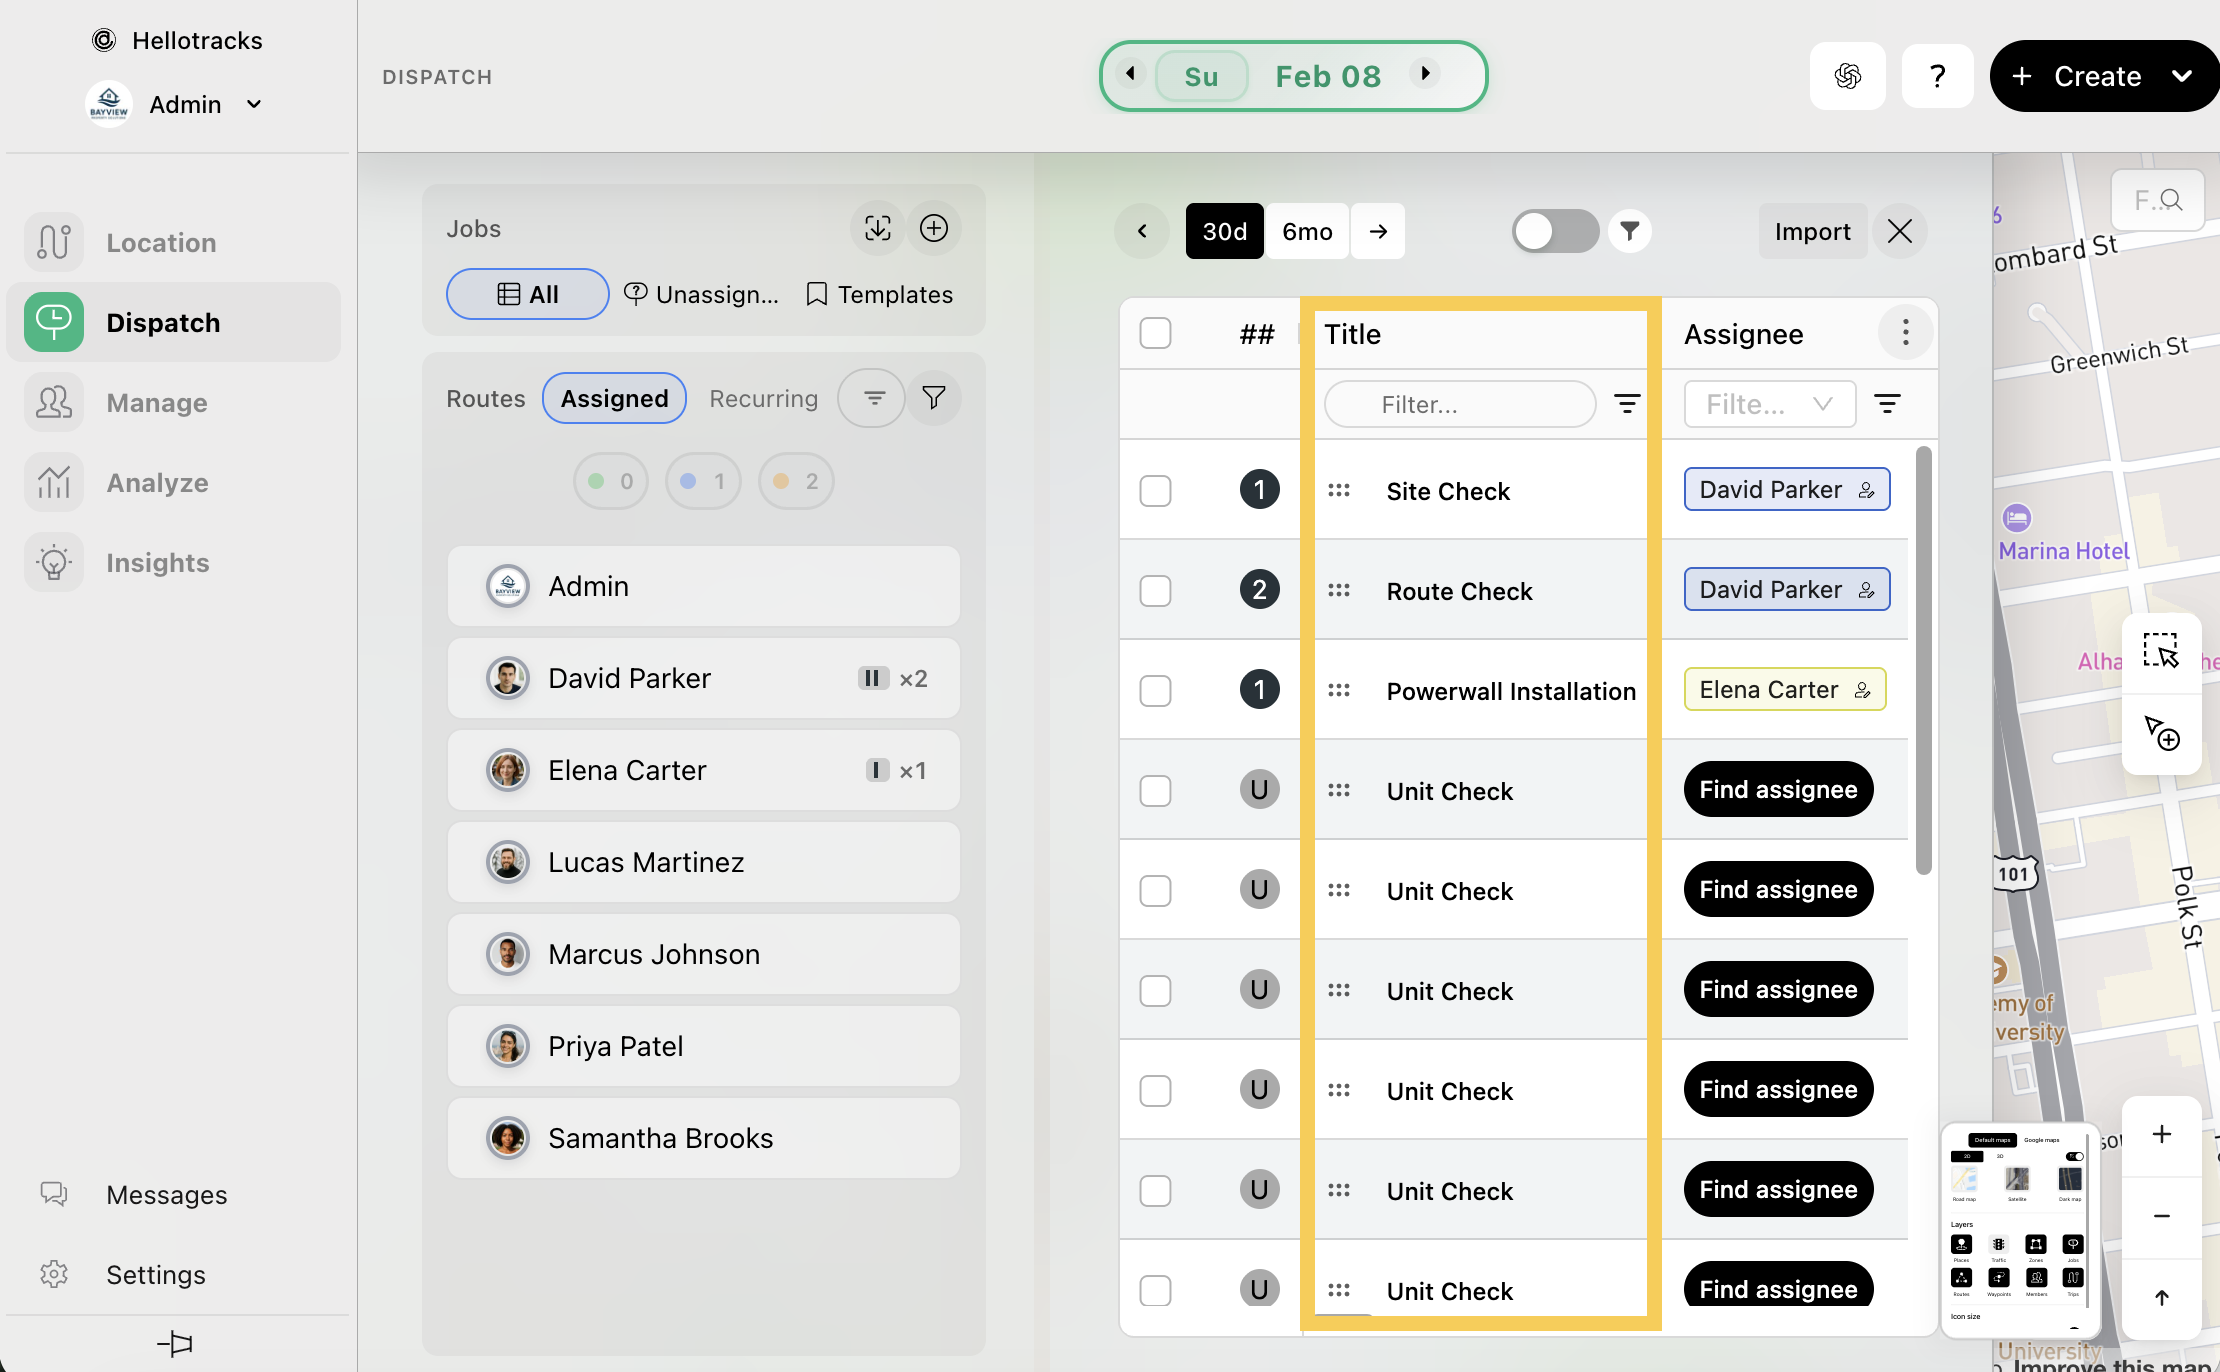
Step 2: Select the Job where you want to add label.
Step 3: From the Job overview, select Job Info and click + Add Label.
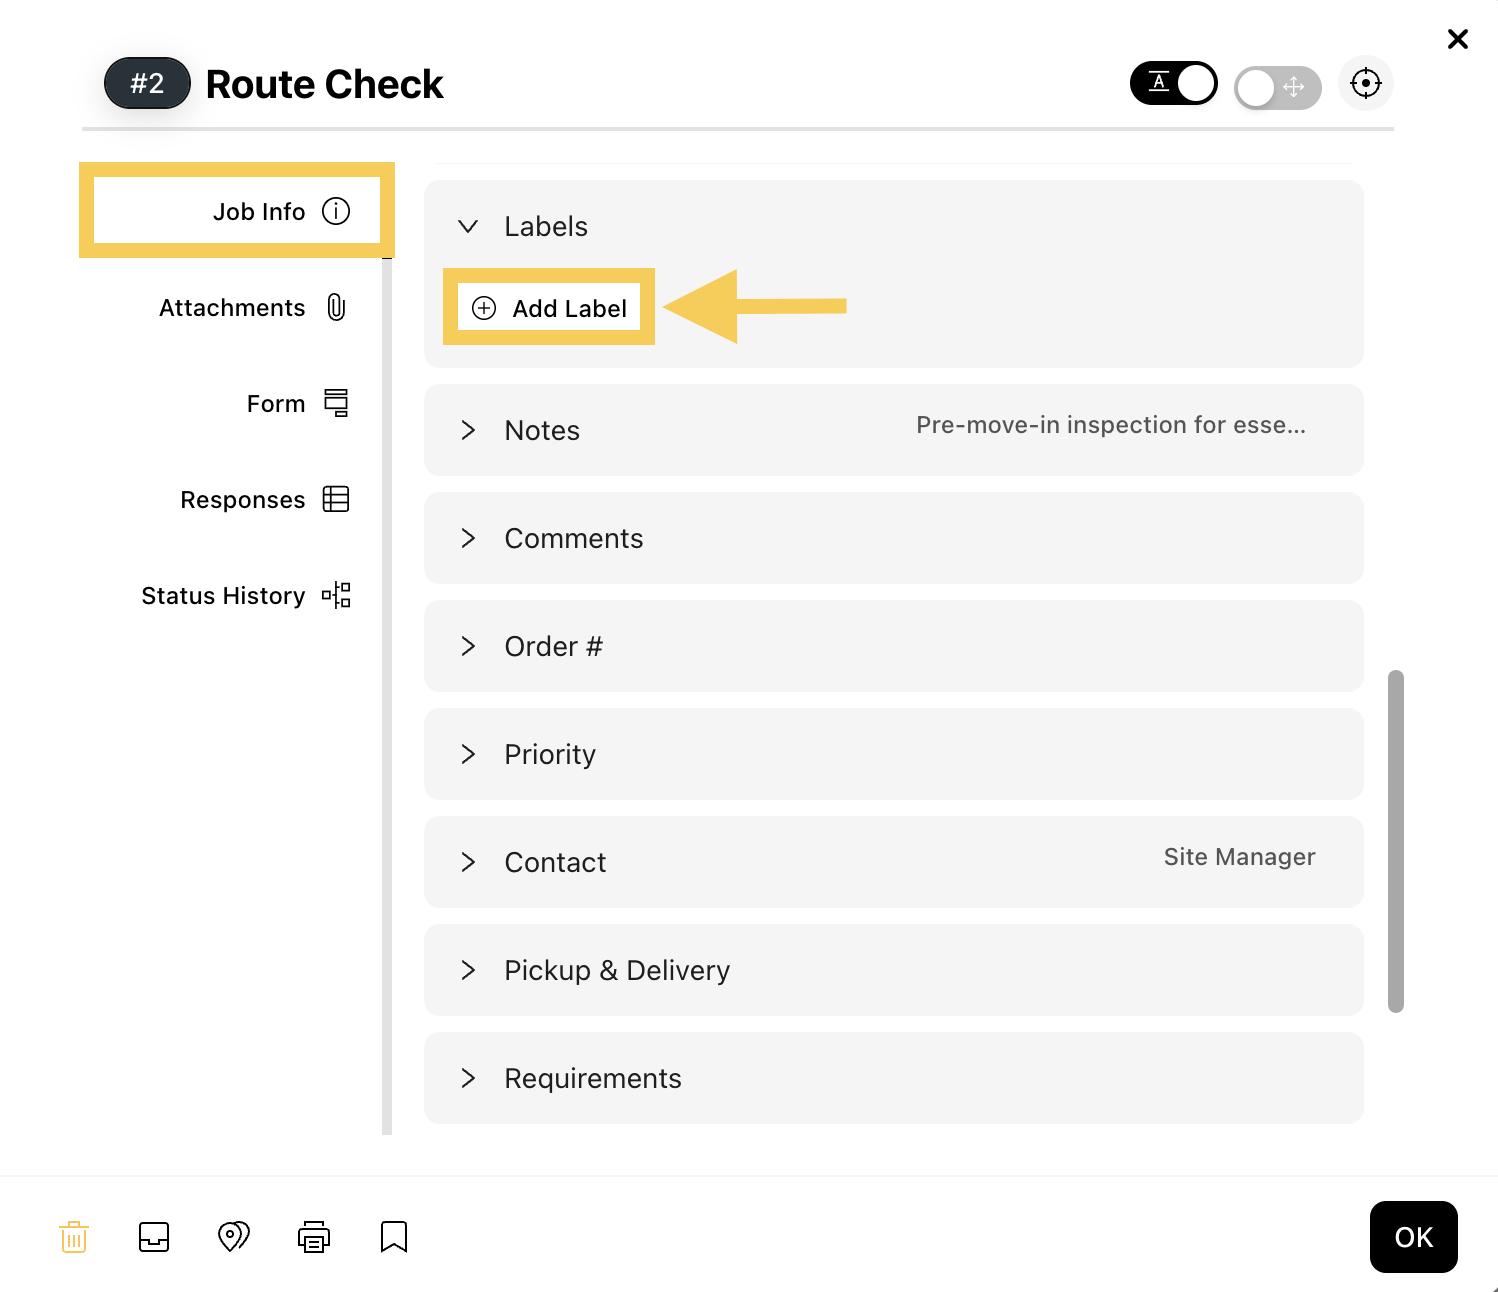
Step 4: Enter a name to create a new label, or click the box to show a list of existing ones.
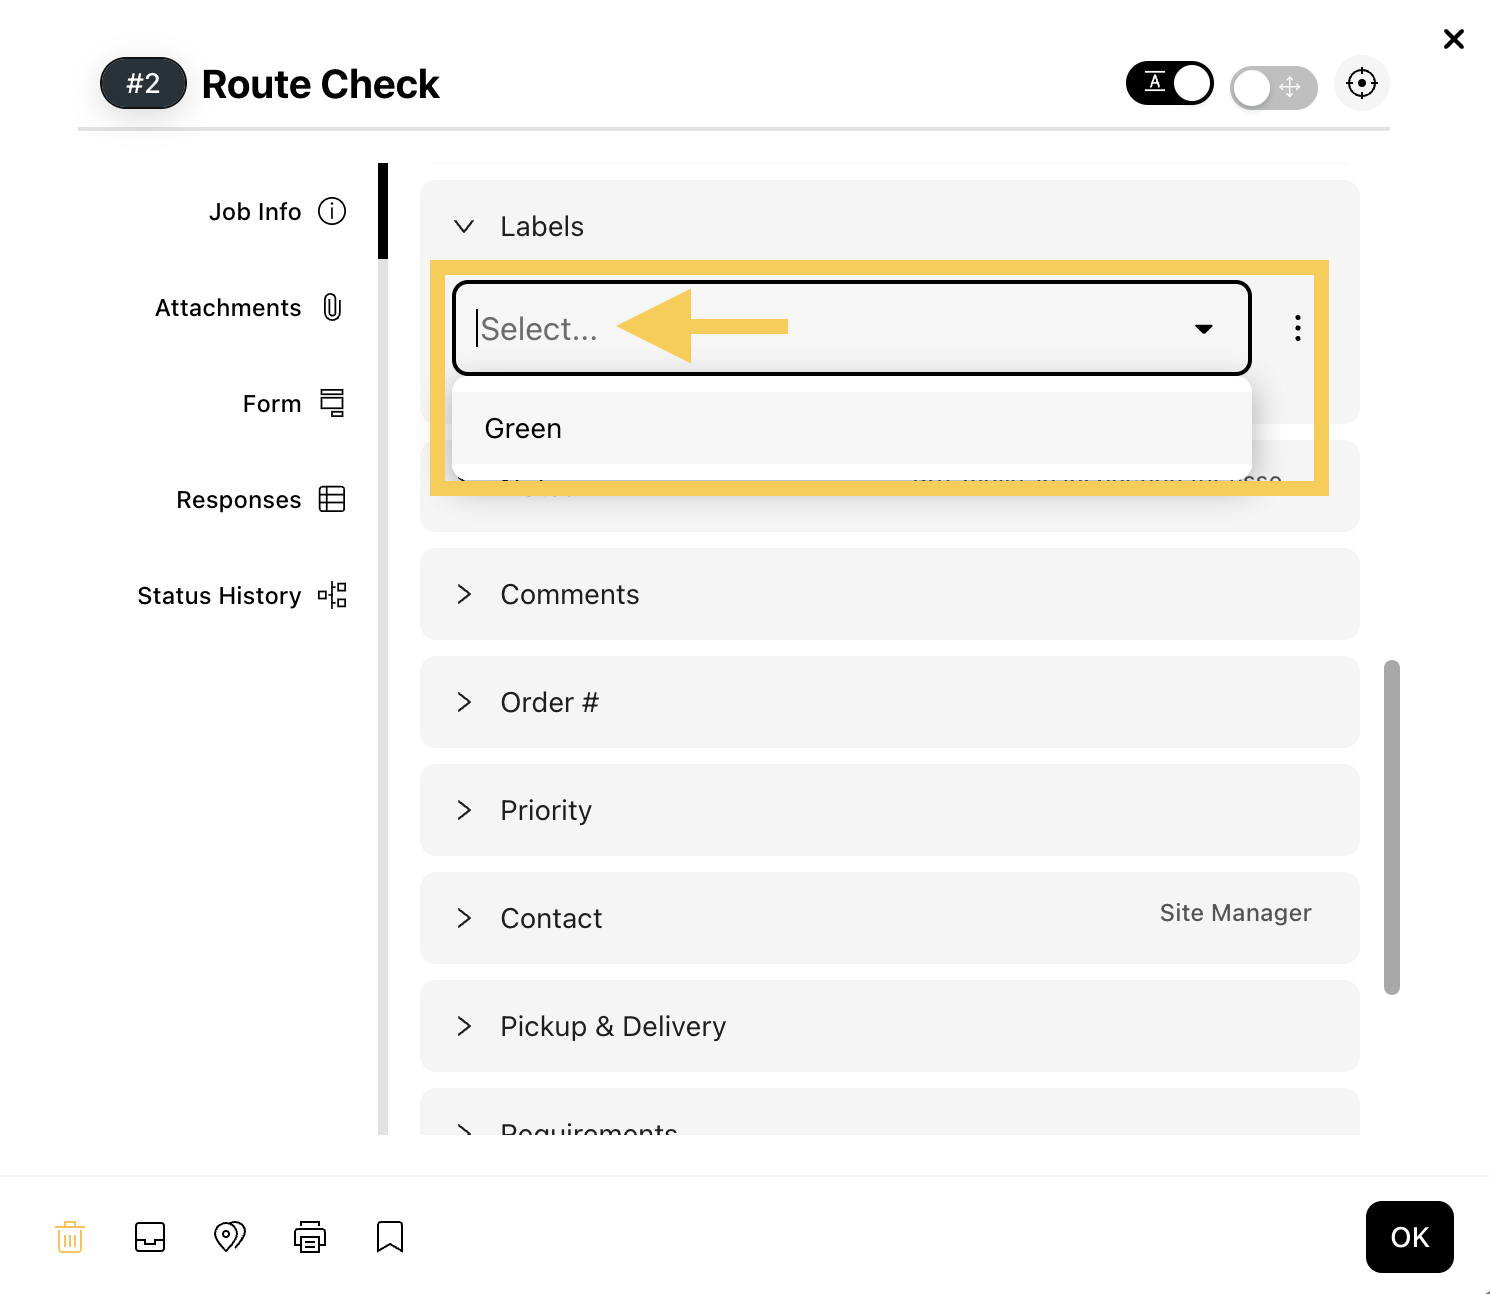
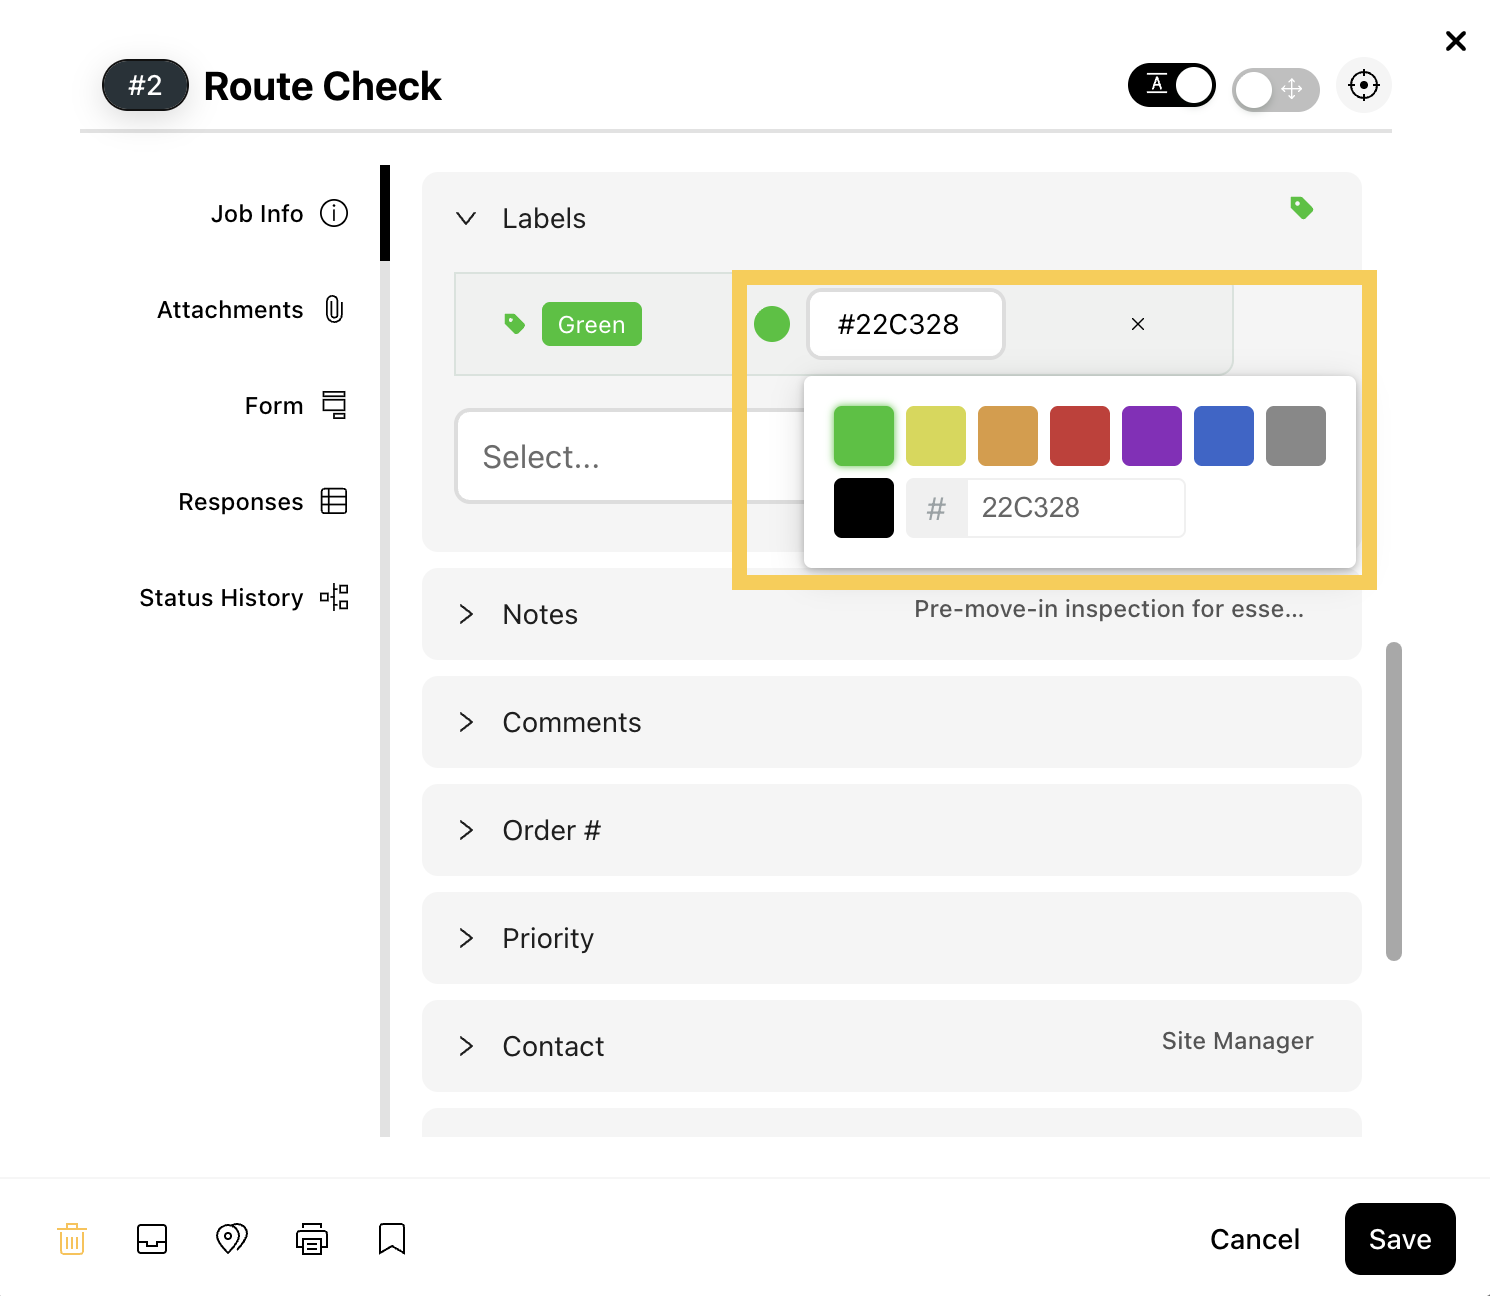
Step 5: Choose a color to easily distinguish Jobs when applied, then click Save.
Viewing and Managing Job Labels
- From the member's board, the labels will be displayed in their assigned Jobs.
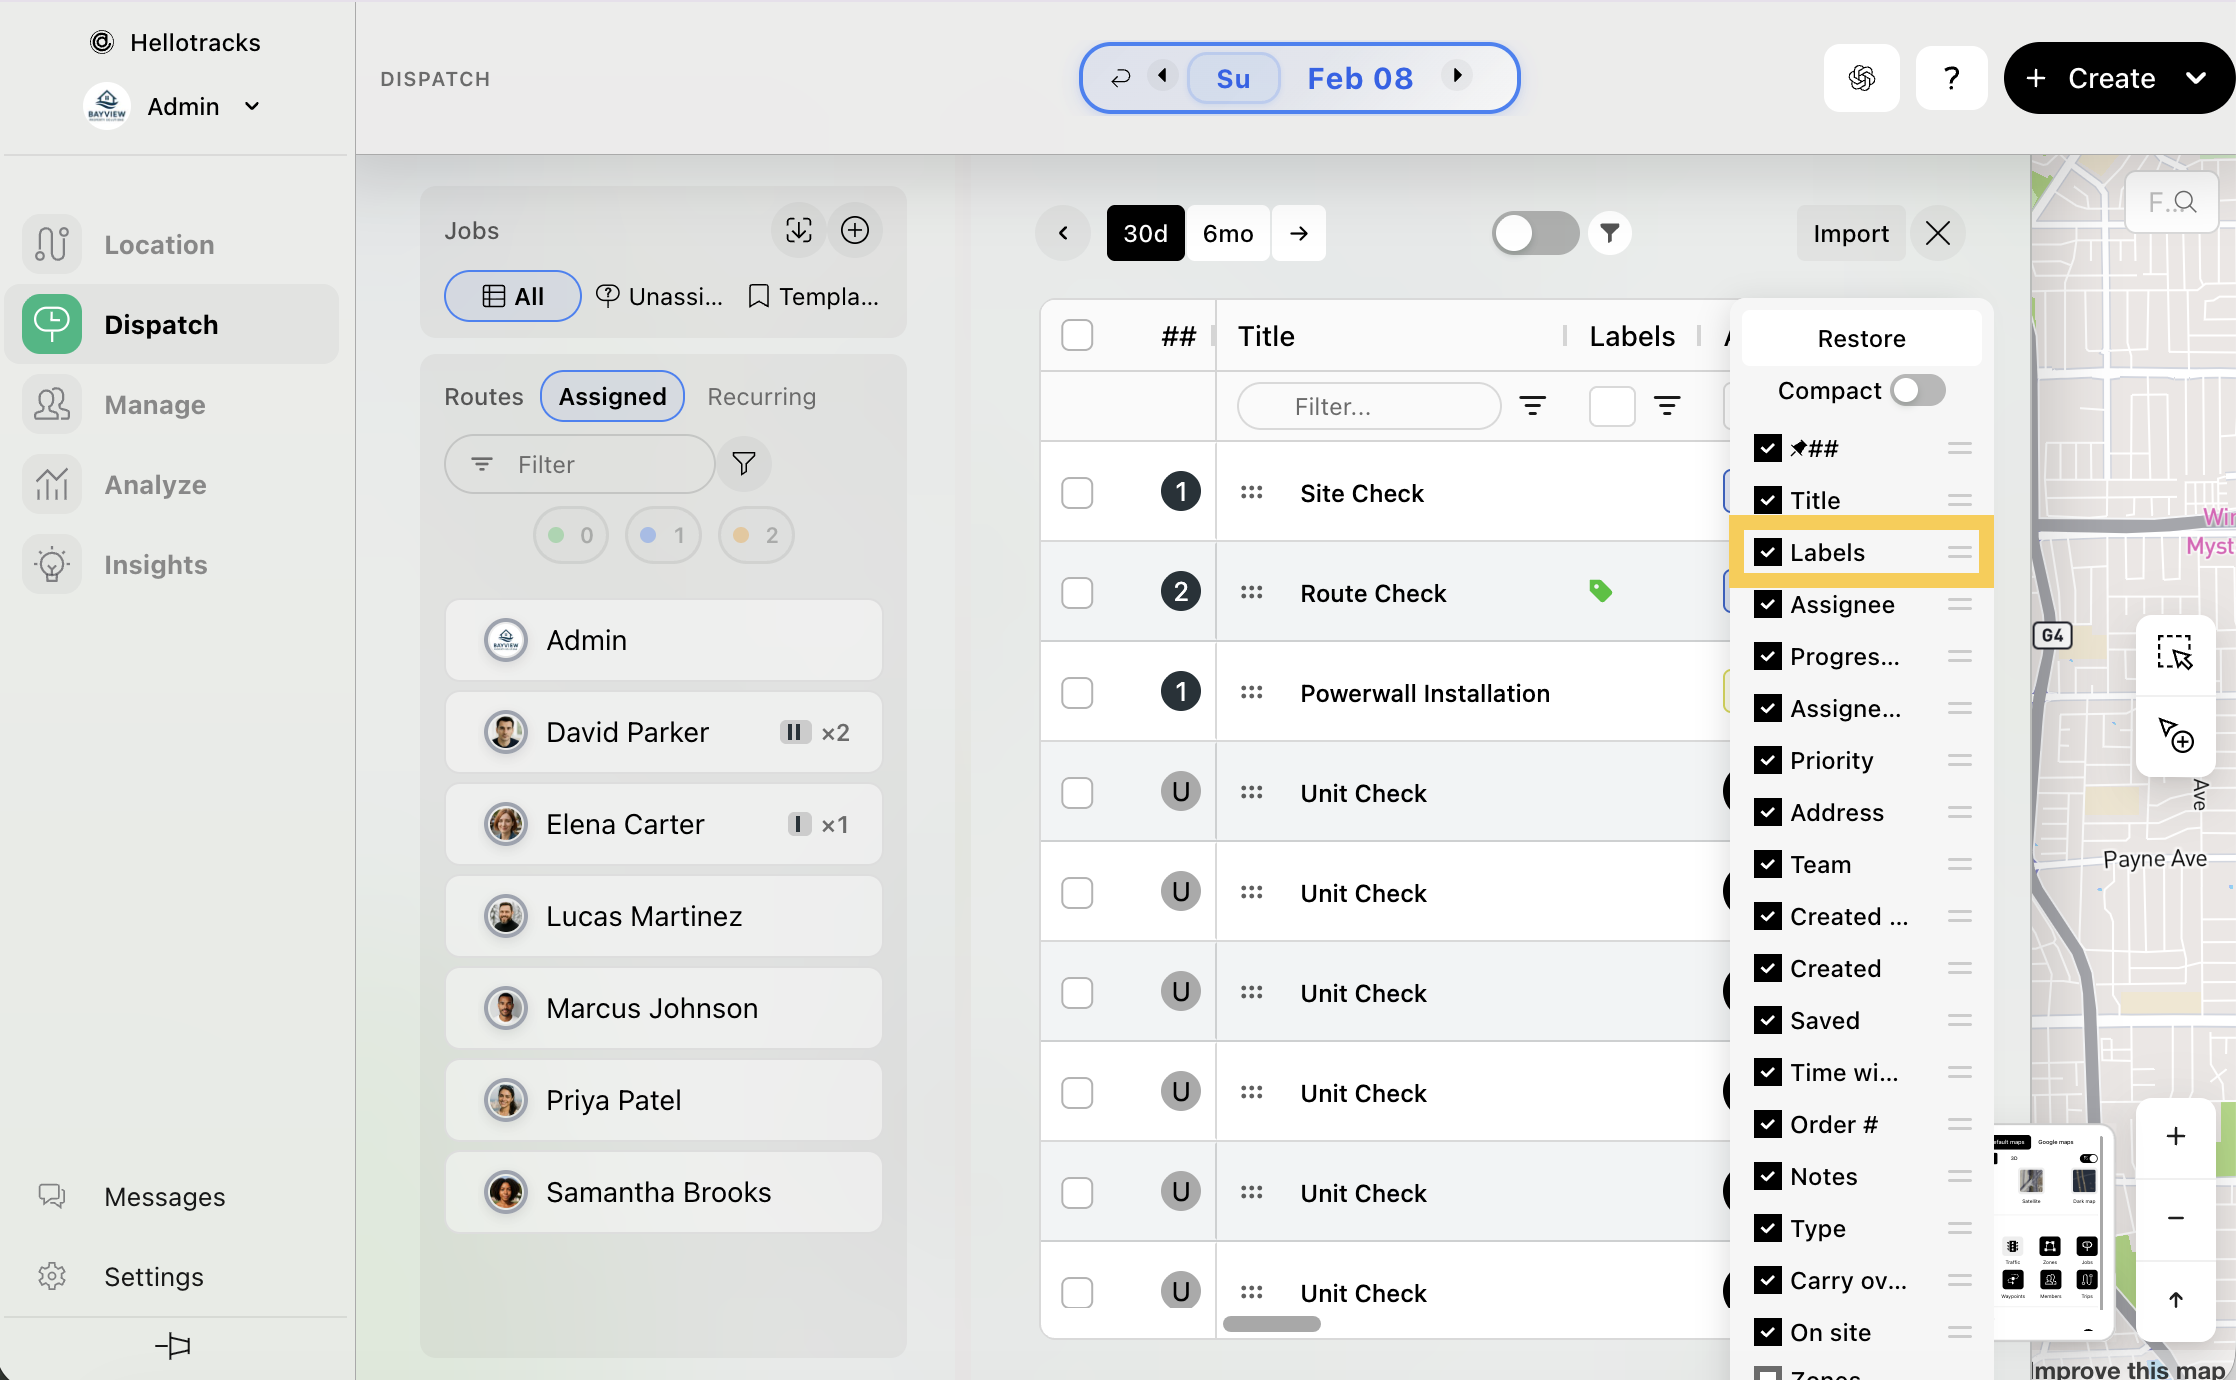
- To display labels as a column in All jobs:
Step 1: In the All jobs view, click the three-dot icon (⋮) located at the top right of the job list.
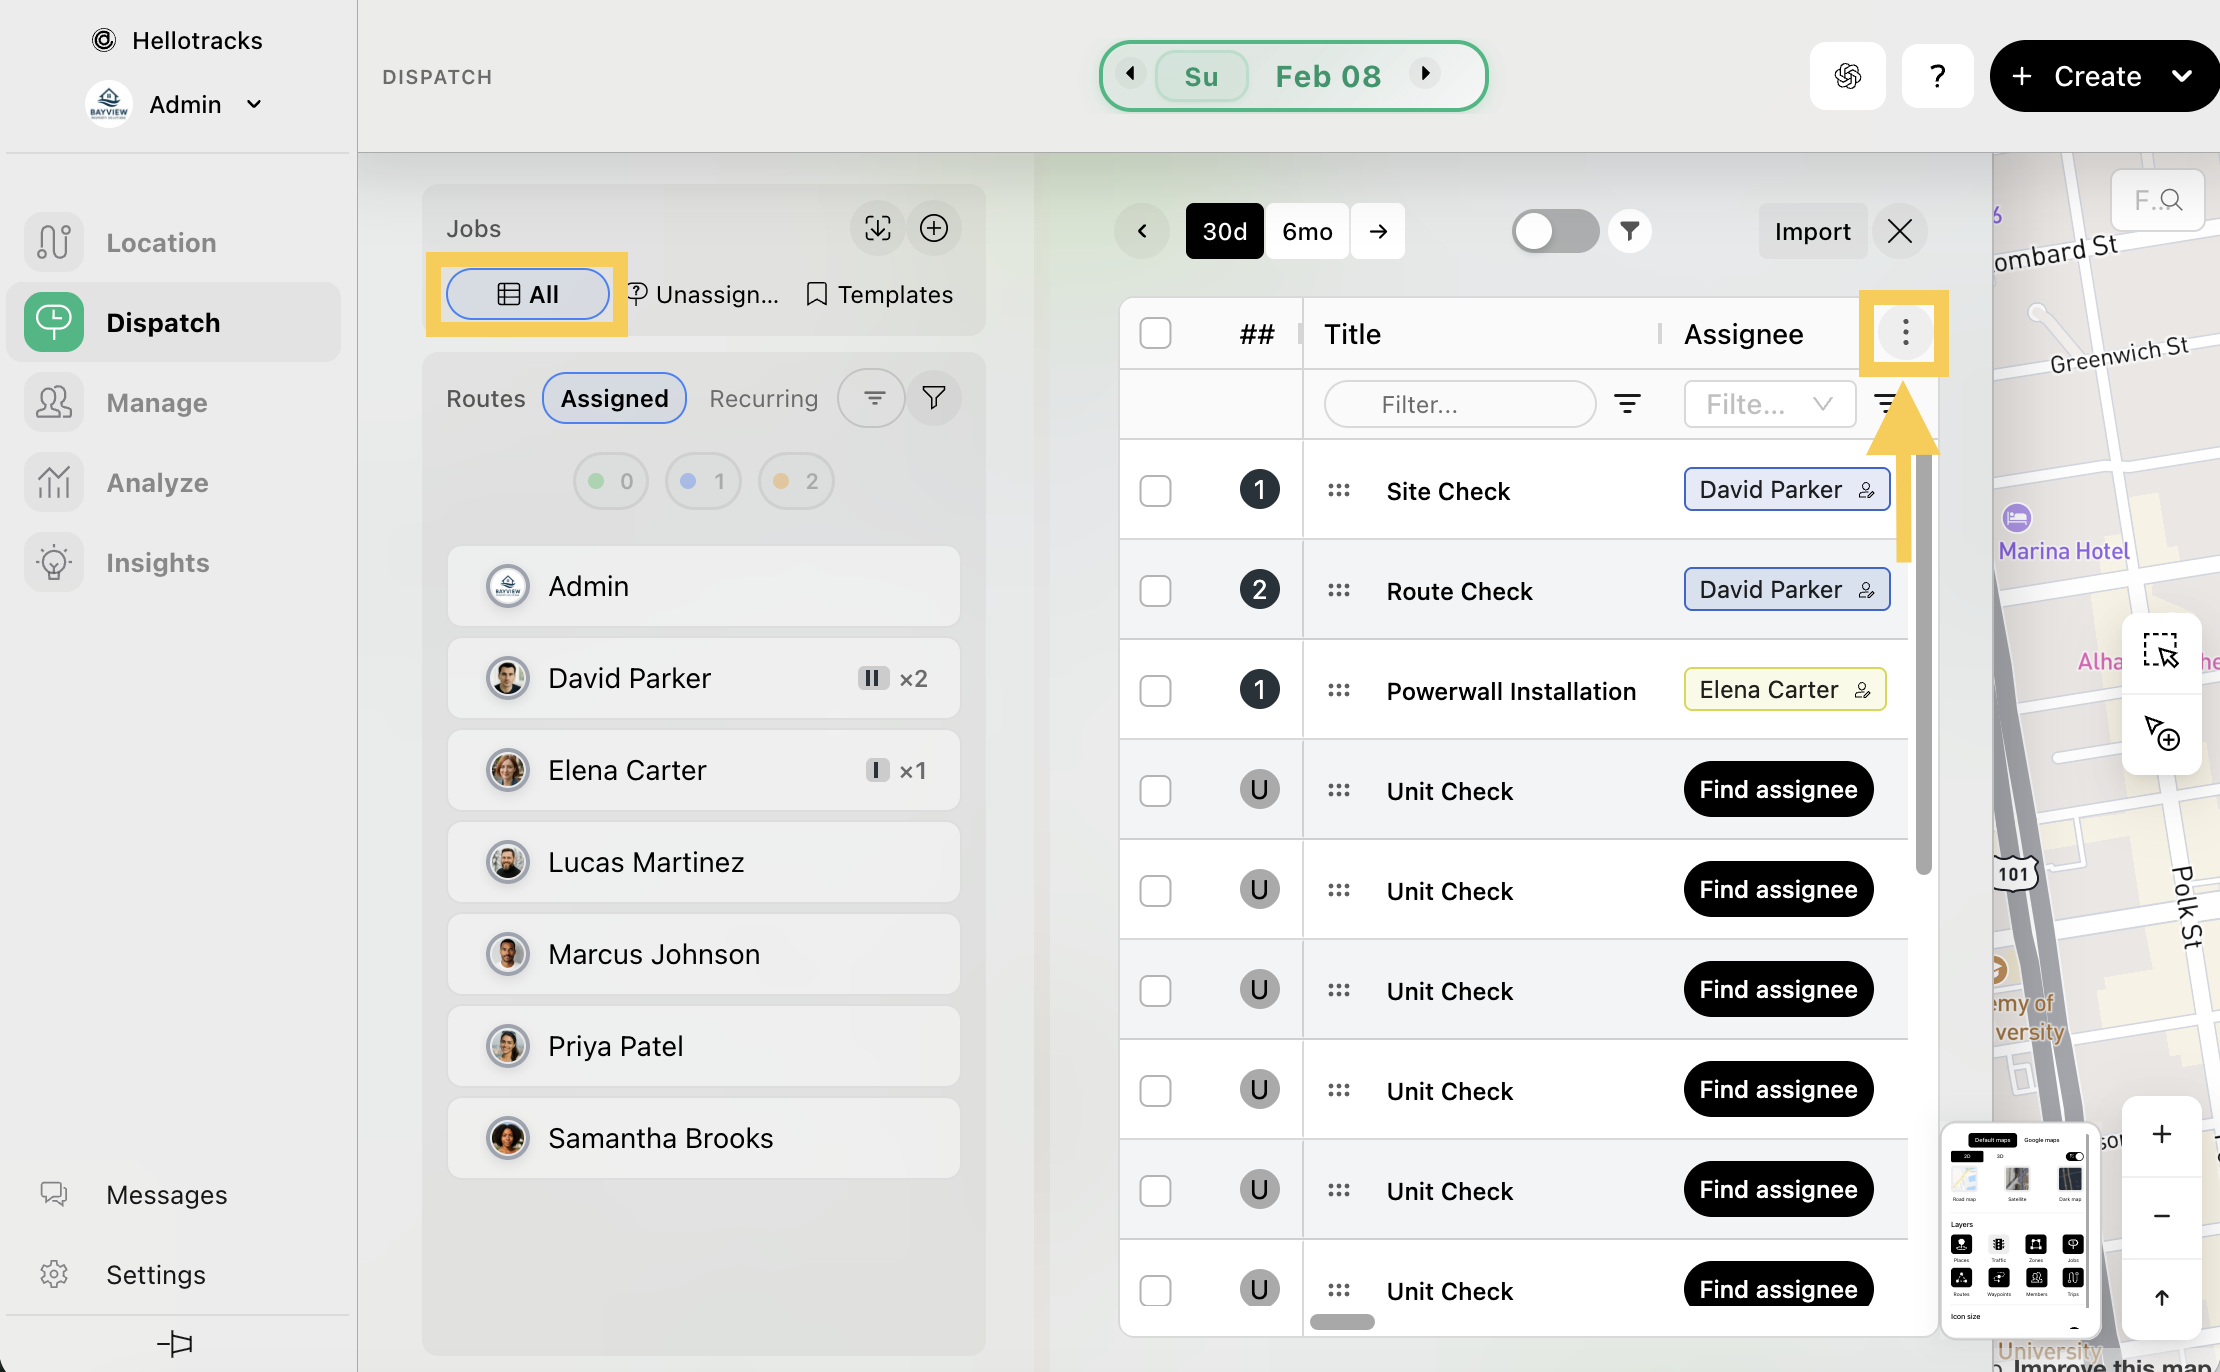
Step 2: Check the box next to Labels in the dropdown menu to display them as a column in your job list.